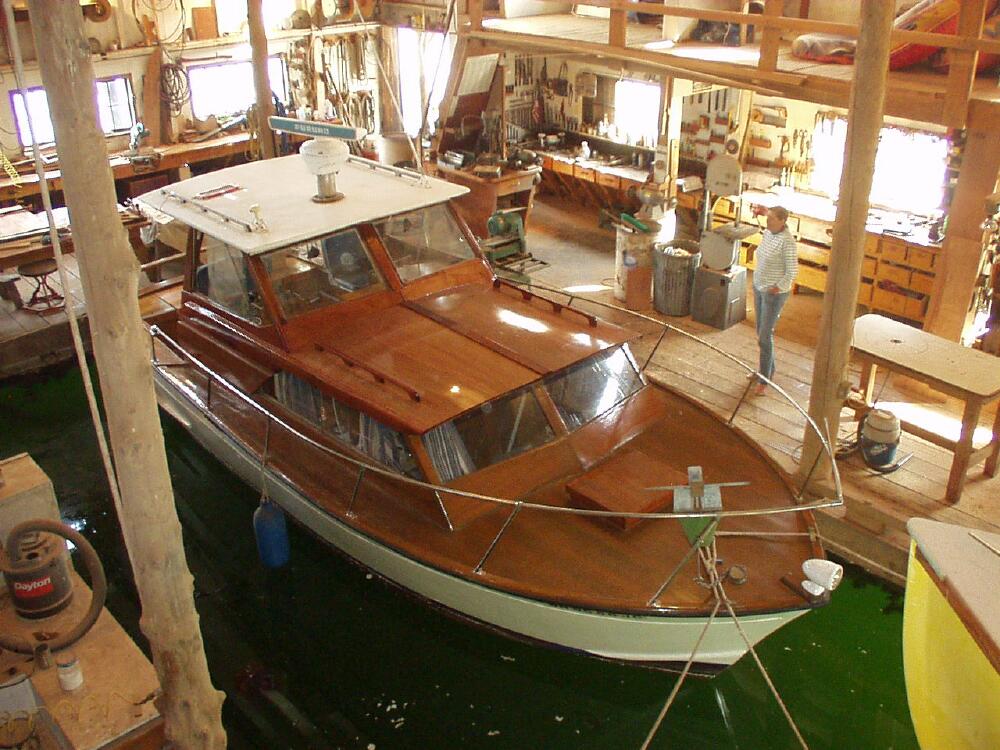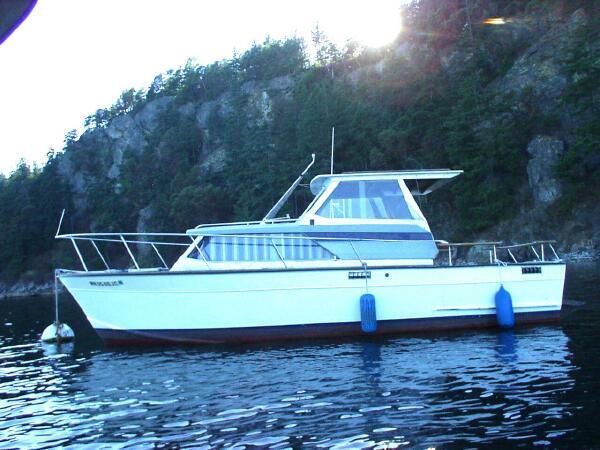
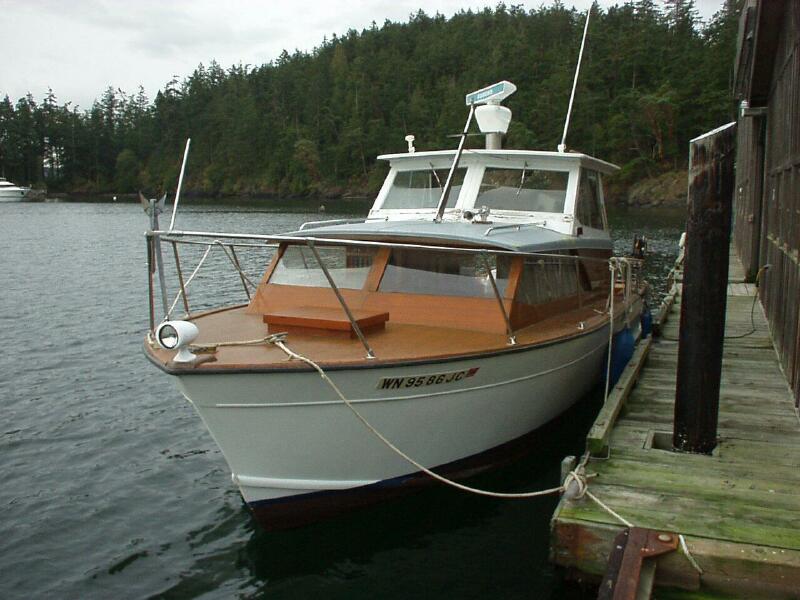
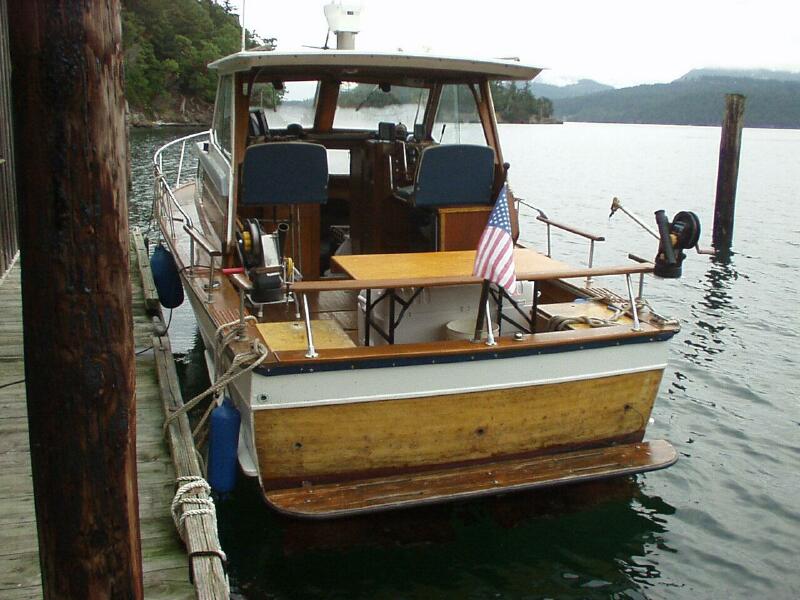
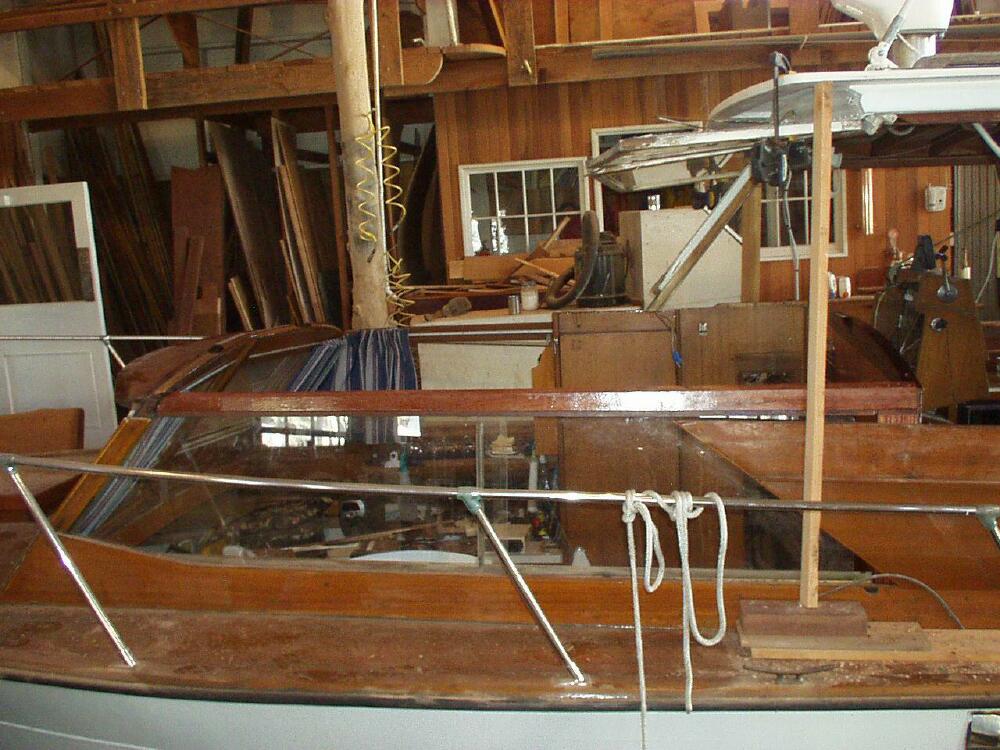
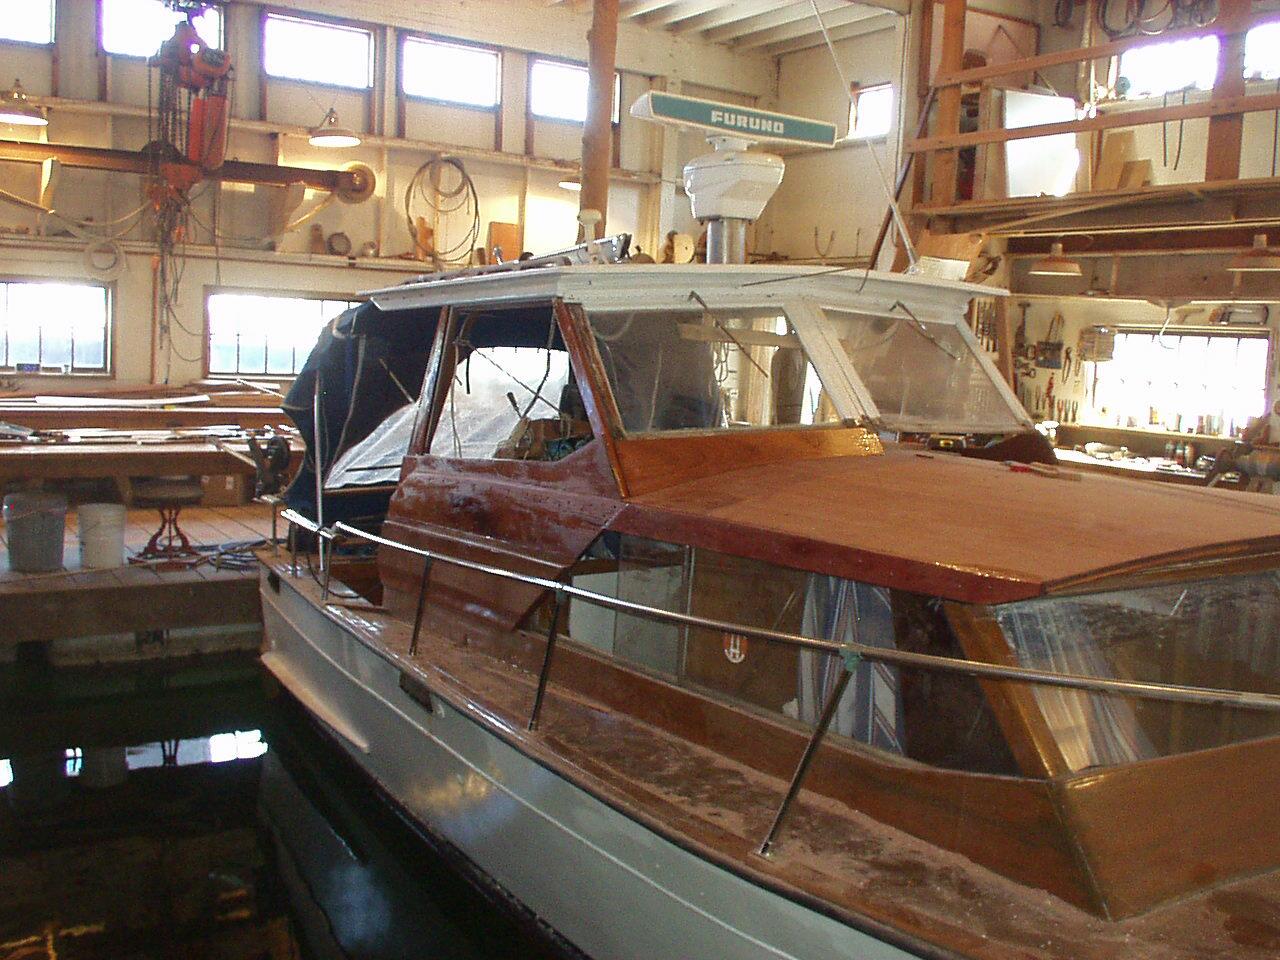
My current "PROJECT" is a 1966 Trojan, 26' wooden cabin cruiser.
The first discovery was that we have a leak around the forward hatch...
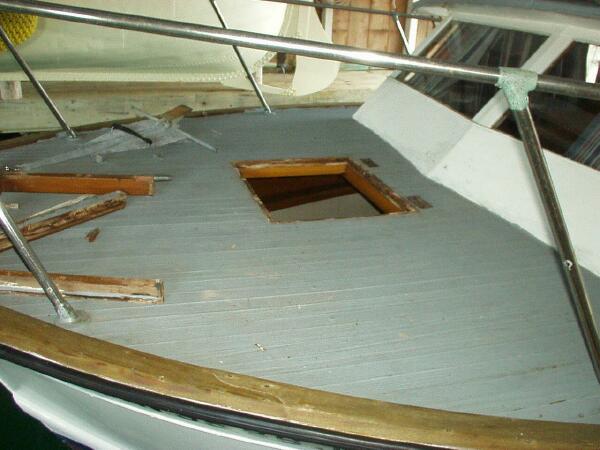
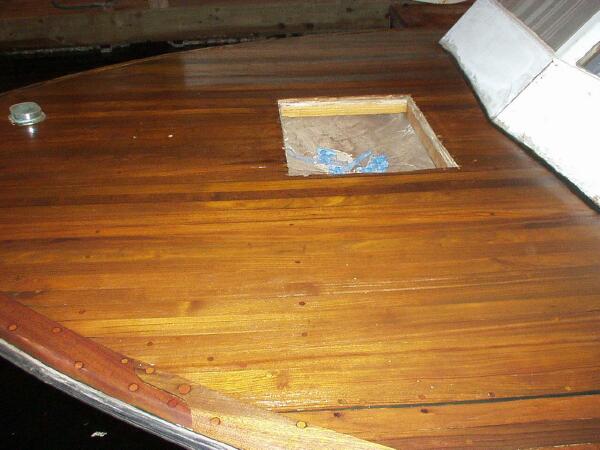
Then we discovered a teak deck underneath that gray stuff...

We spent the next month stripping and refastening the decks and toe railings. All fasteners were slotted brass wood screws, very few were countersunk, those that were had some ugly putty over the heads. Most were visible with the slots ground off the heads. About half of them were broken off in the wood.
Finally after a month of tedious work, we have it all countersunk, fastened and plugged with matching wooden plugs.
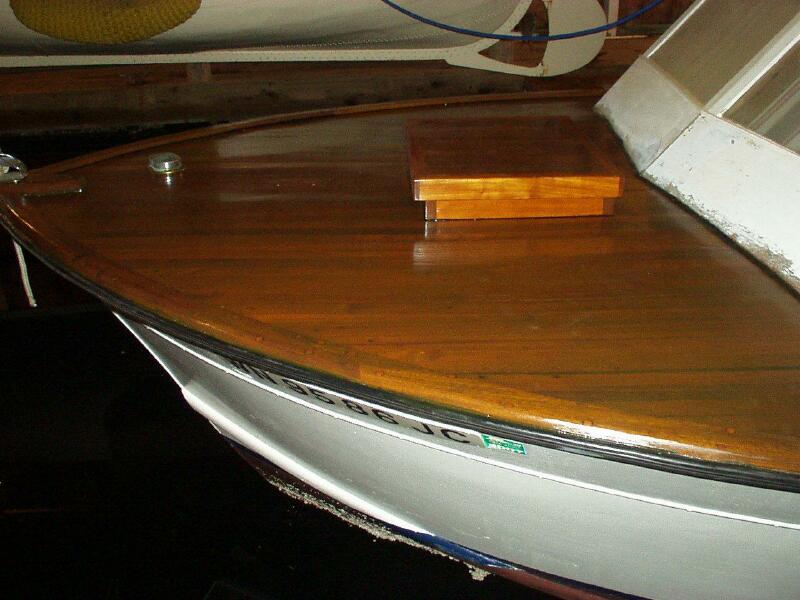
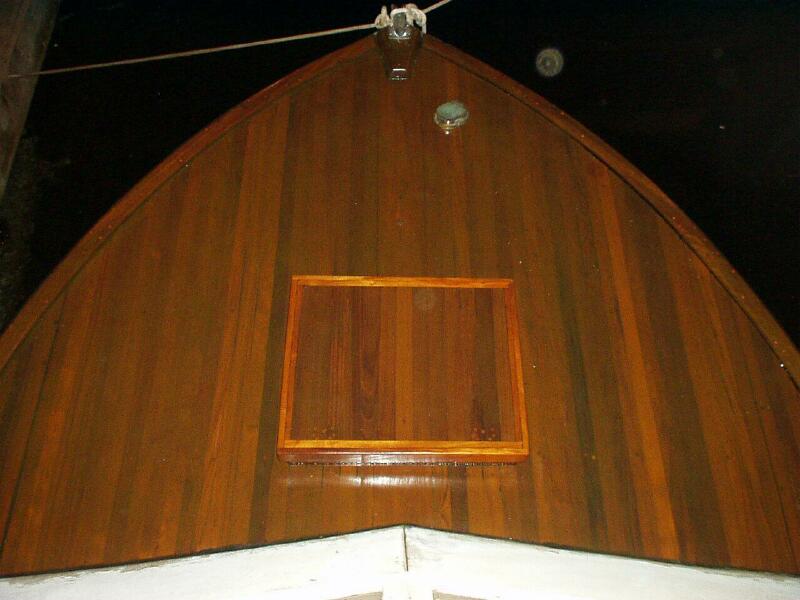
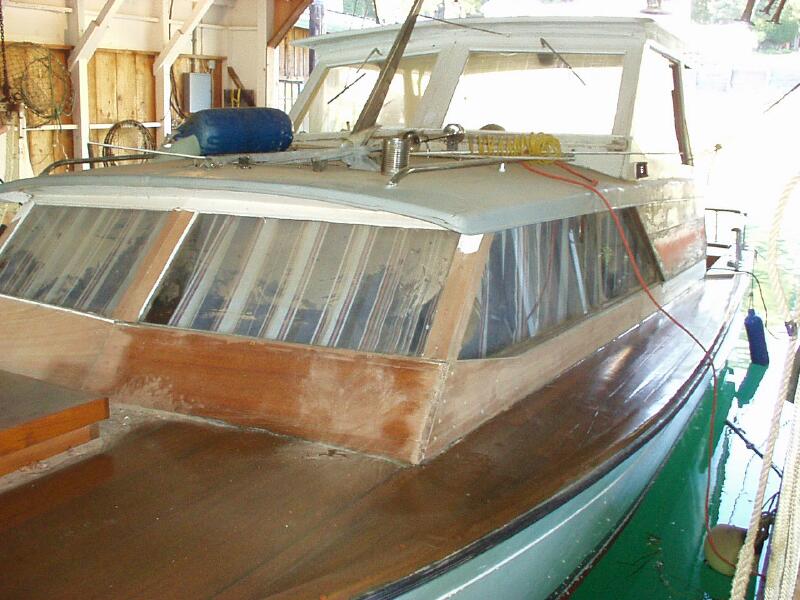
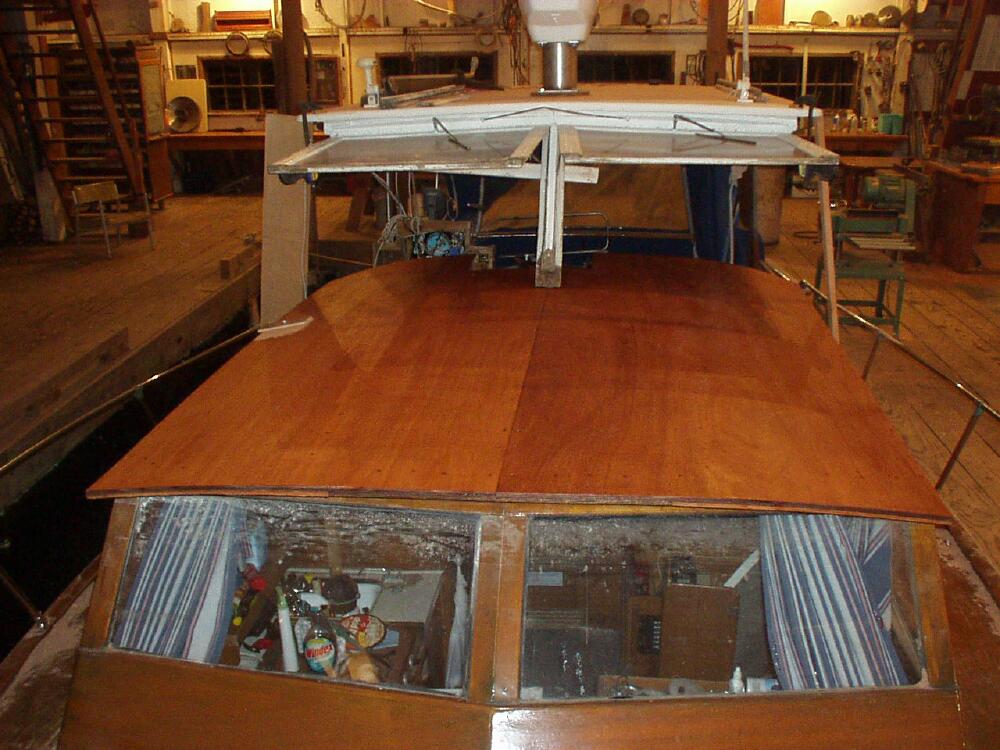
Here she is with the first coat of Sikkens Cetol Marine on the decks.
The weather has been too cold to apply more cetol to the decks, but I did find time to build a new hatch cover for that hole in the fore deck, and a new box to sit it on.
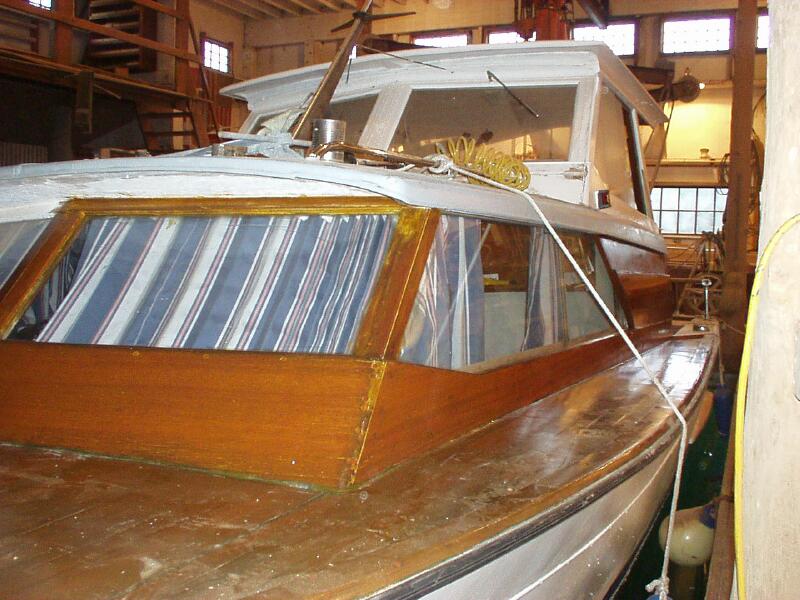
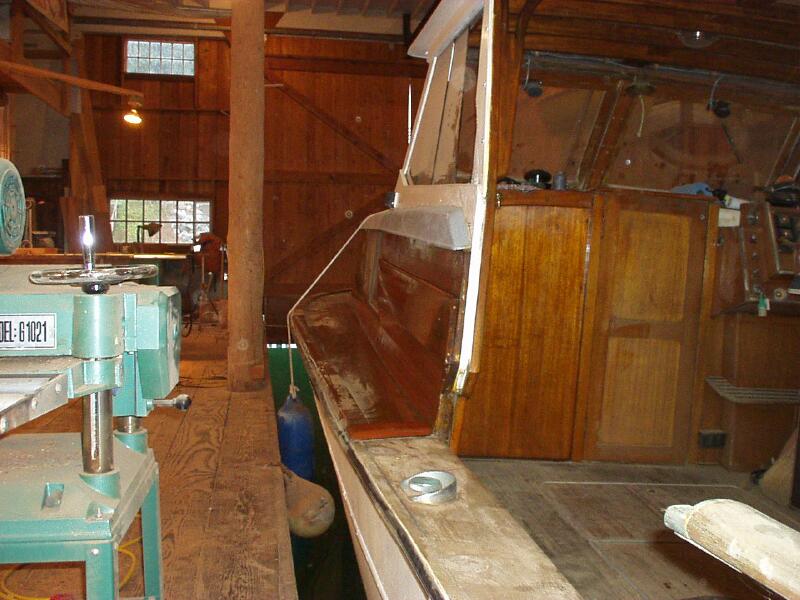
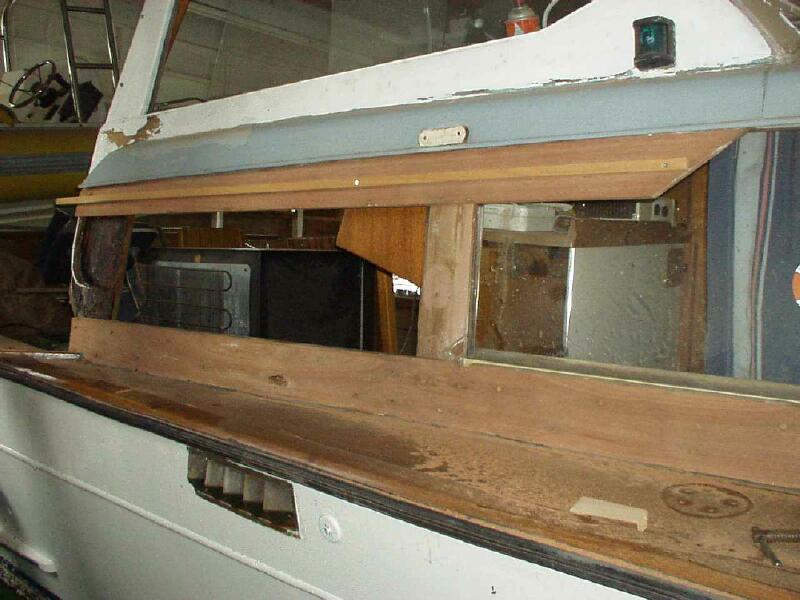
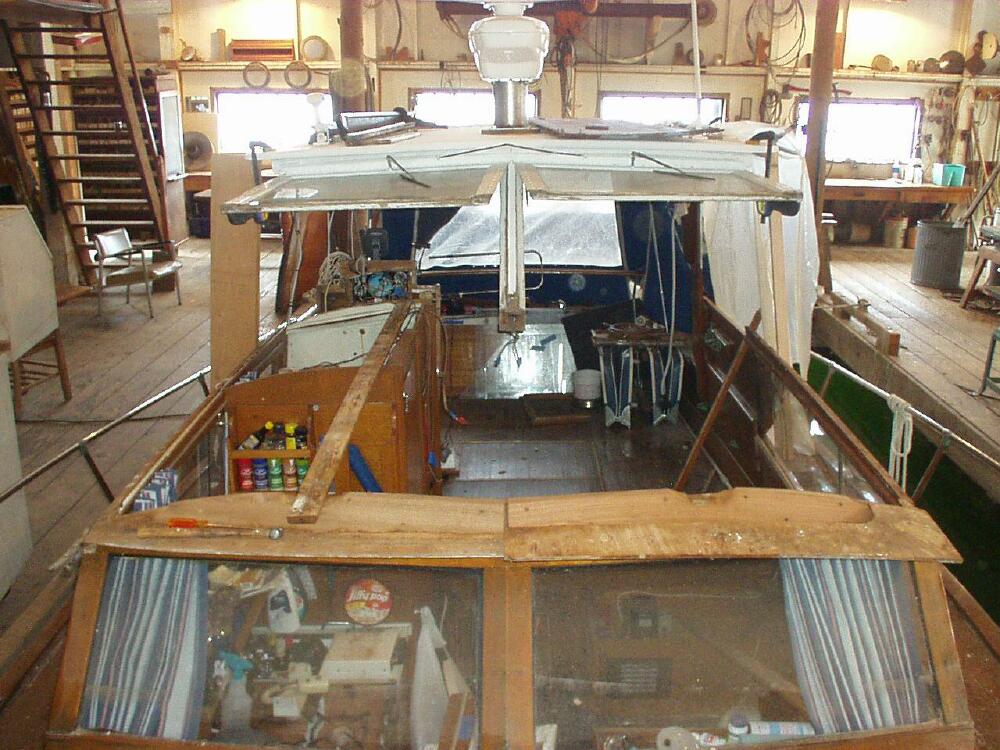
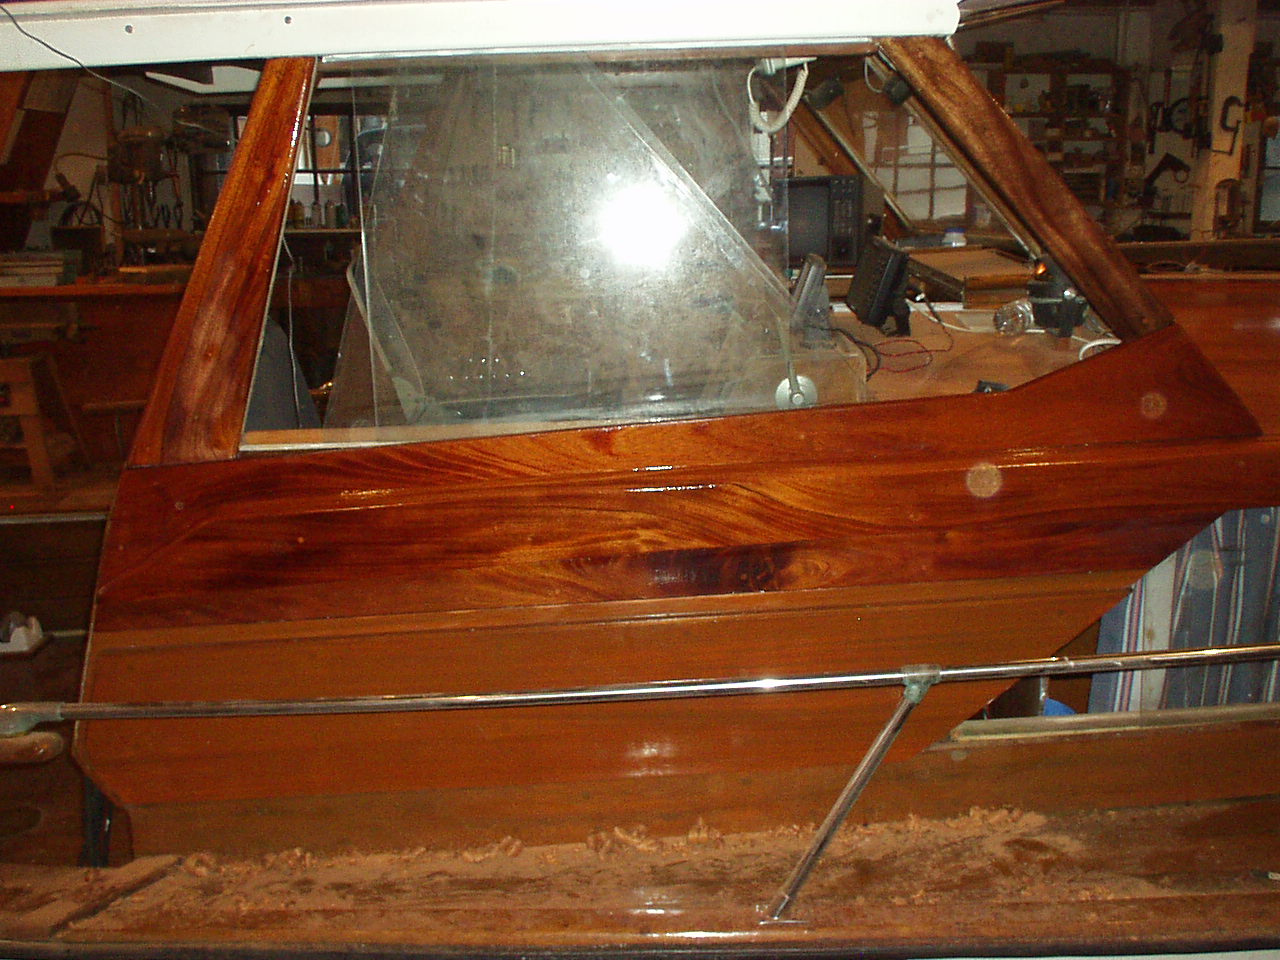
Next I discovered that most of the house is built out of mahogany, much to pretty wood to be buried under all this old paint...

This might be easier if I could remove the sideboards, and take them indoors to work on them, and this aluminum trim looks like part of my moms kitchen table in the mid 60's. What's up with the carriage bolts sticking through the cabin sides? We have to lose this stuff!!!
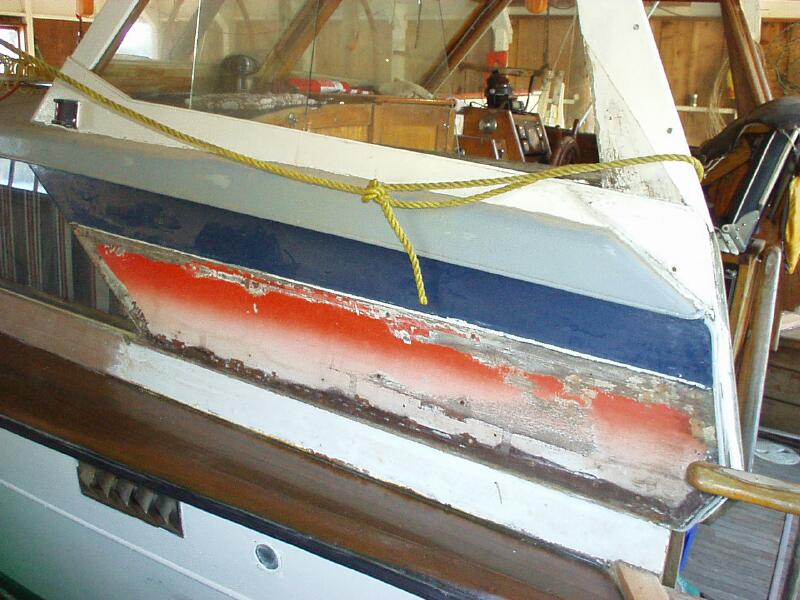
Yuckkk, look what we found behind the sideboards!
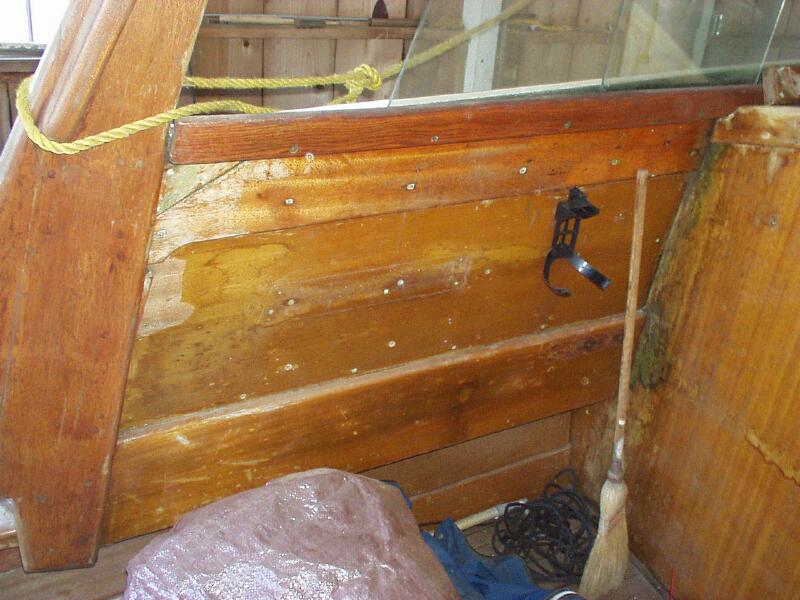
Cool, these sideboards come off pretty easily. Looks like I have some work to do on the inner wall anyways.
Ok, this doesn't look so bad, lets find out what's under that paint...

WOW, it had some kind of white vinyl or canvas stuff stapled to it once???
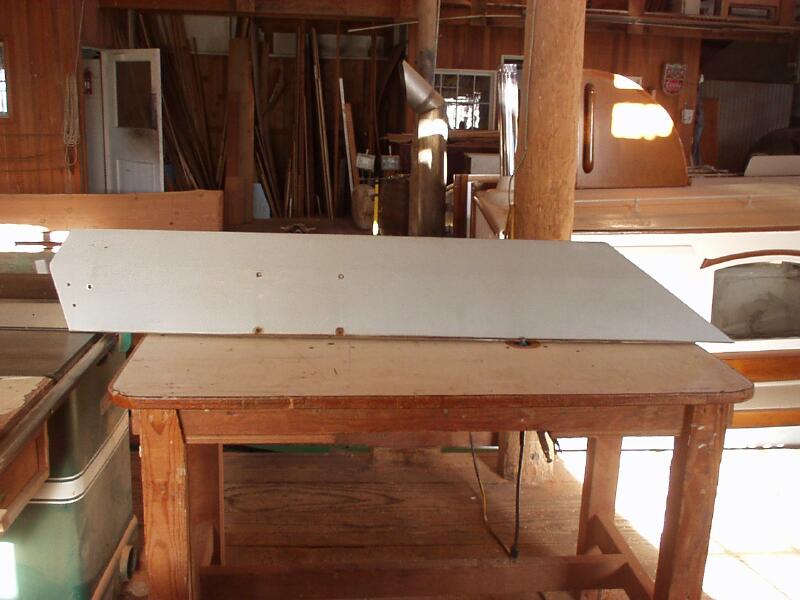
OK, we got all the staples out of it, Lets run it through the planer a few times.
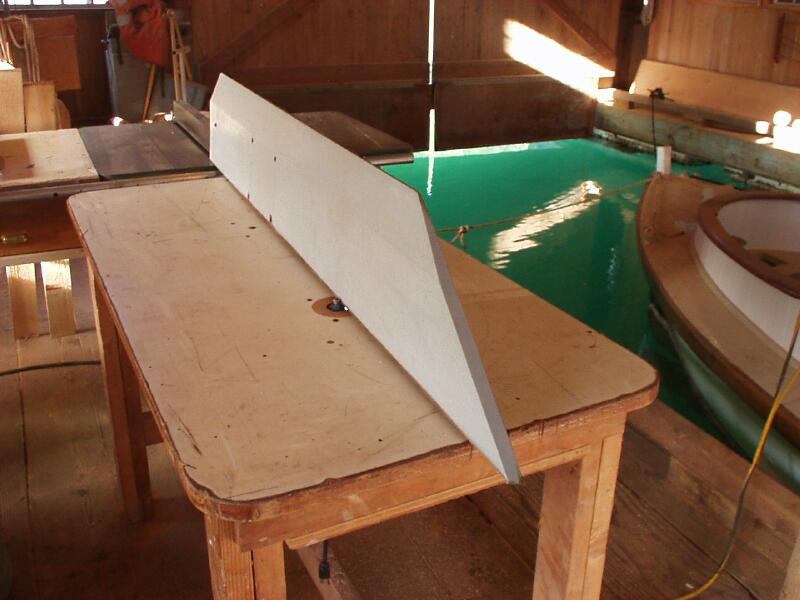
We have some bondo'd up rot to deal with... That might work under paint but not for a natural finish. This lower edge is quite thin and is badly cracked and weakened all the way across at the height of that rotted hole.
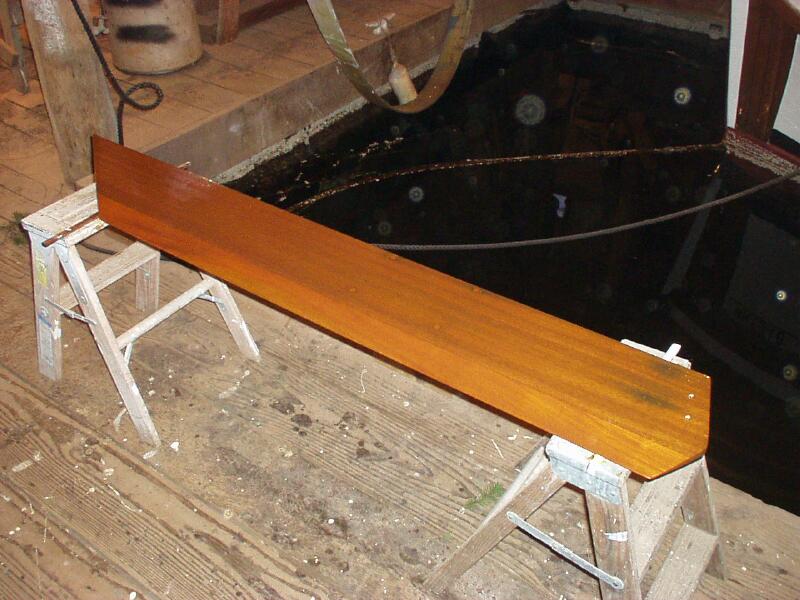
Lets go to the table saw and remove this lower part until we find solid wood again.
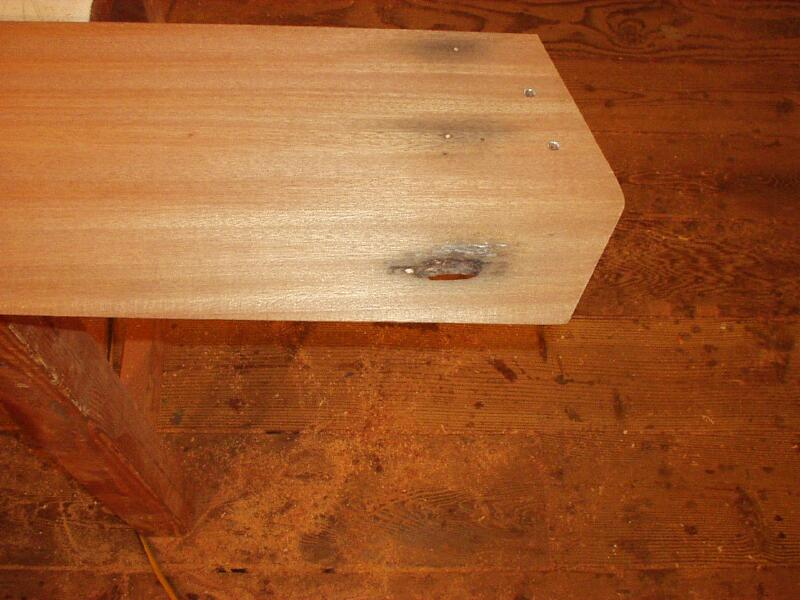
That was fast and easy, it took a bit longer to mill a new piece to stick on there, and the color of the new wood doesn't come close to matching the original wood, but it is strong and looks better than that rotted out hole did.
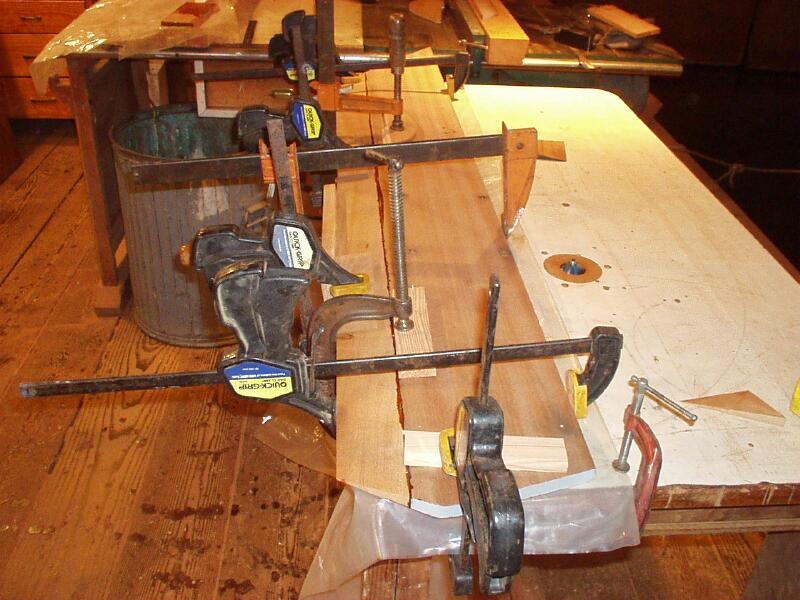
I used plain old epoxy to glue this back together.
I plugged up those nasty old carriage bolt holes too. Some blackening shows where the wood has some rotting around poorly sealed fasteners over years of weathering.
I chose to leave that alone...

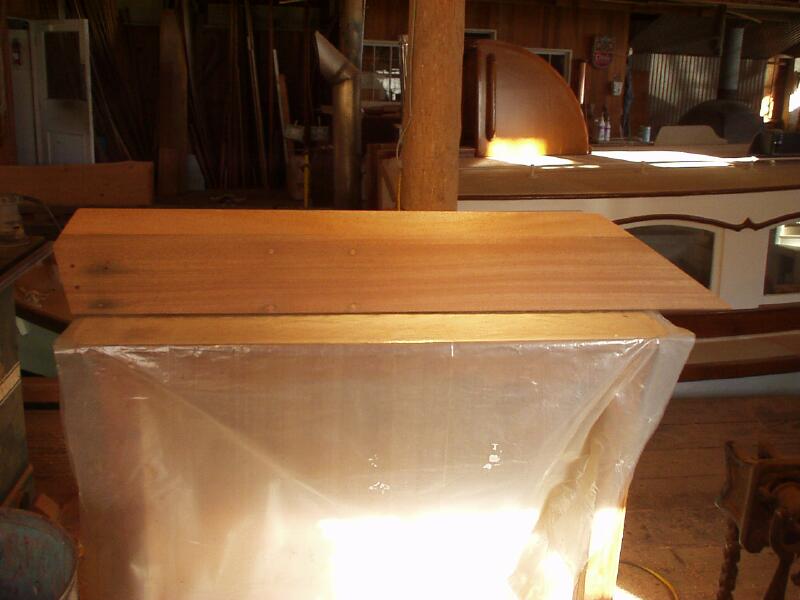
Here is my first sideboard with the second coat of Cetol on it.

Here's the cabin side all sanded back to bare wood. Next I need to dig all those white putty spots out and countersink the screws, so I can plug the holes with wooden plugs.
(BTW, all of this port side cabin work was completed by myself in a single weekend!)
Updated Feb 4th,2007
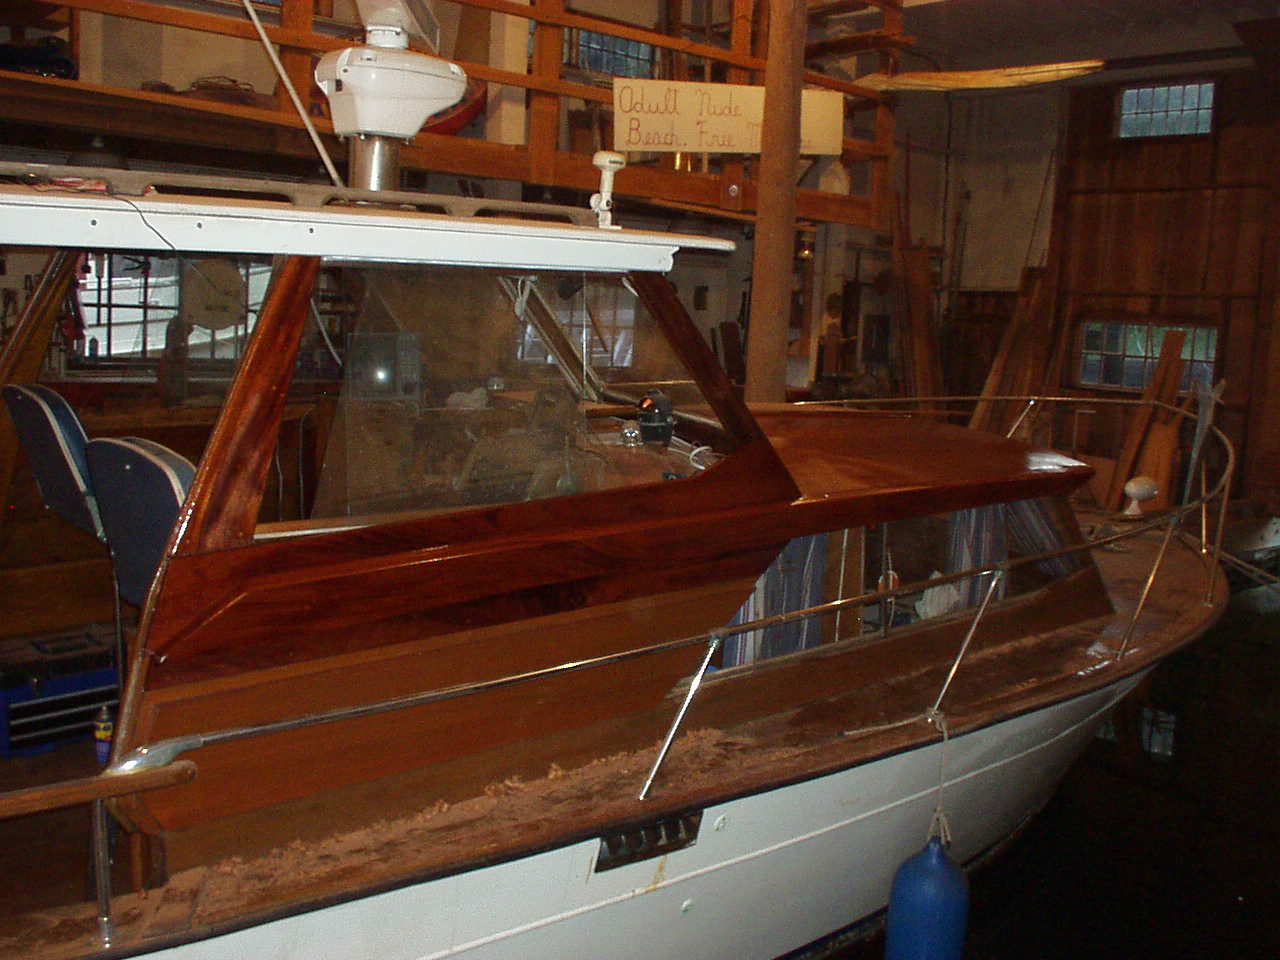
Here it is with the port side completed. This is as far as I go with this project, Next I will begin on the starboard side. The rest of the boat may need to wait until next winters project list.

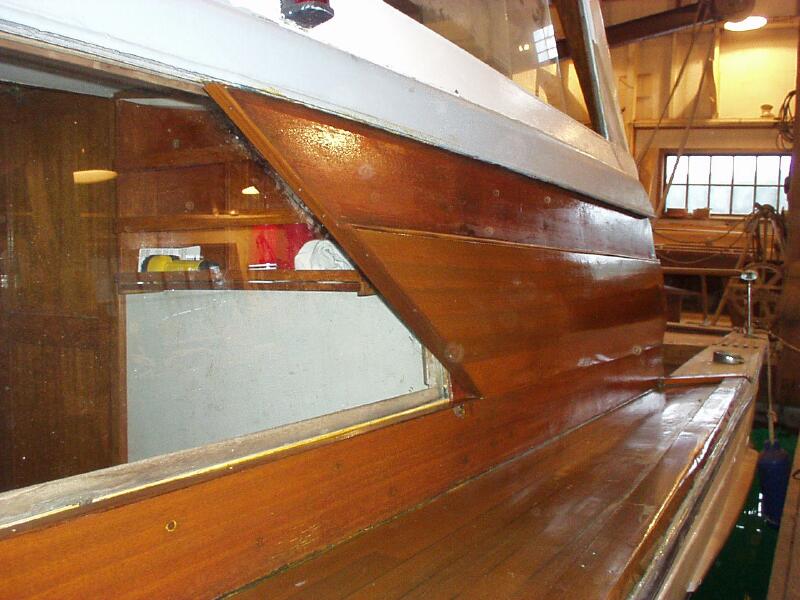
This shows some of the teak trim that replaced the old aluminum trim.

I found some scraps of black walnut that also make nice wood trim.
It is now april 29th, 2007, and good to be making progress on this project again.
The only difference in the starboard side is there was a lot more rotted wood over here. I screwed this cedar strip to the cabin wall to use as a fence for the skill saw, then cut out a 12 inch wide piece of mahogany.
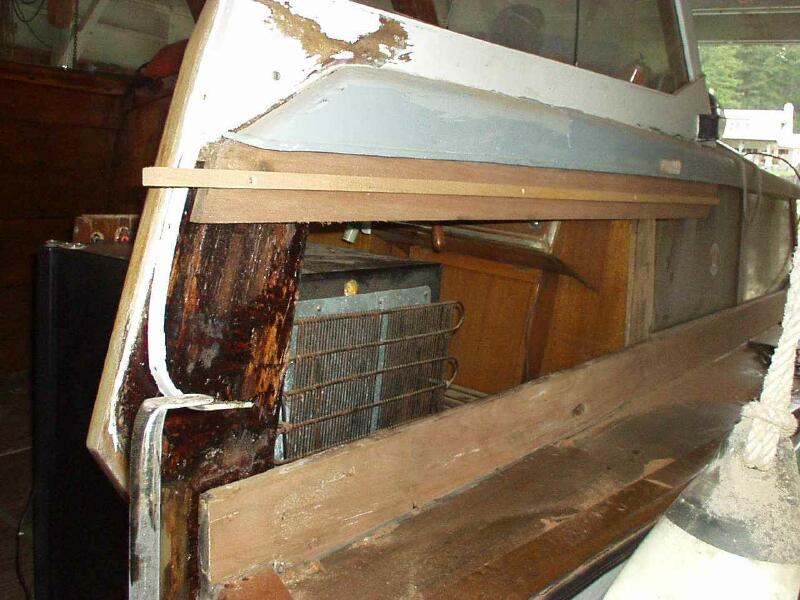
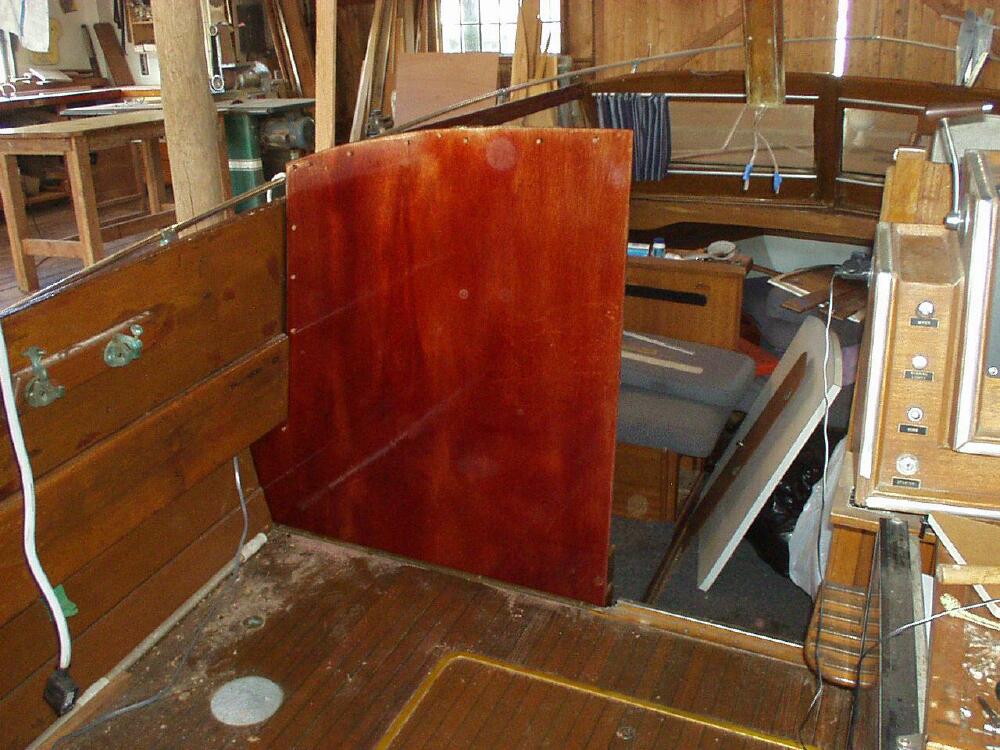
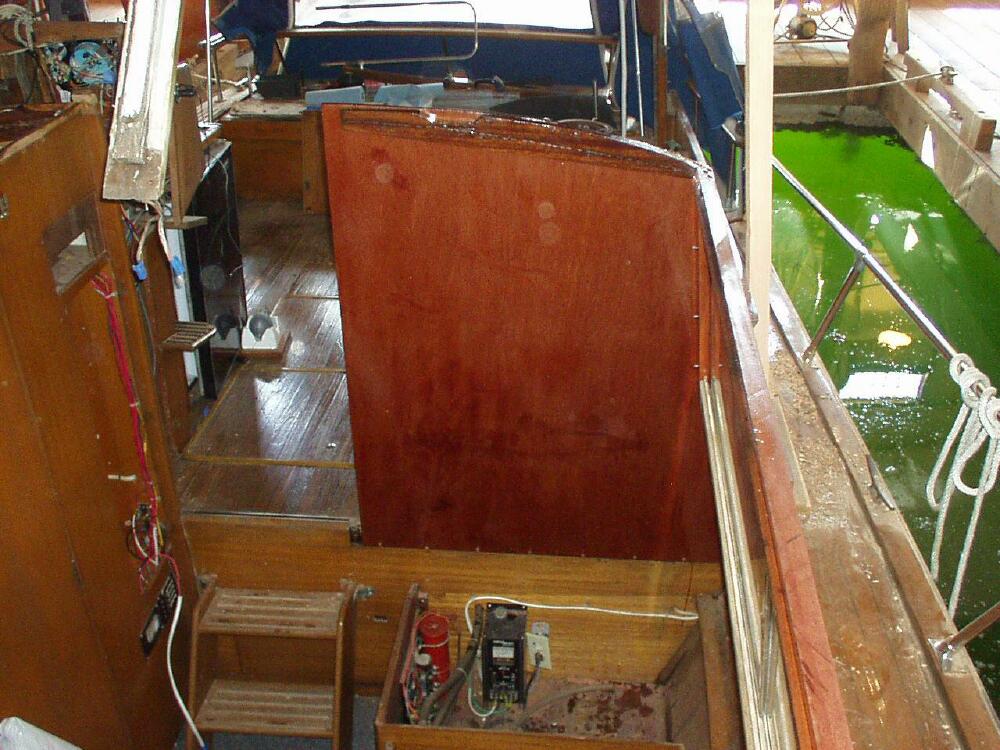
This is the back side of the refer which lives below the captain's seat. It's through bolted to the floor, and the engine is in the way to climb under there and remove it, I decided to leave it there and work around it. Some of this wood that was sandwiched in between other pieces was so badly rotted it was spooned out like pudding, centipedes and all.
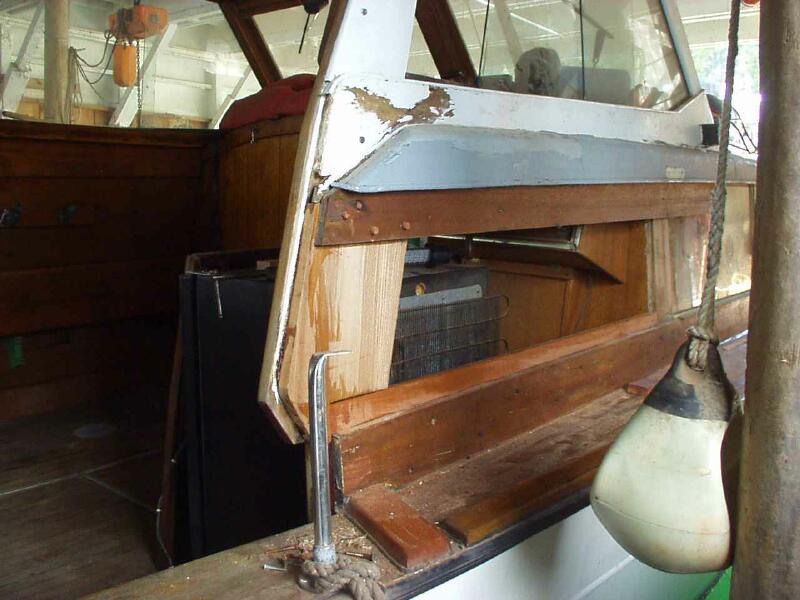
I spared all the boring details of cutting out the wood and building patterns. Here I have shaped a piece of teak to replace the missing sandwich filler (center), and installed a piece of mahogany on the inside of that lower board. I used the teak for the sandwich, because I'm told, it will not rot. These pieces are epoxied and screwed from the outside, since the refer is preventing access from the inside.

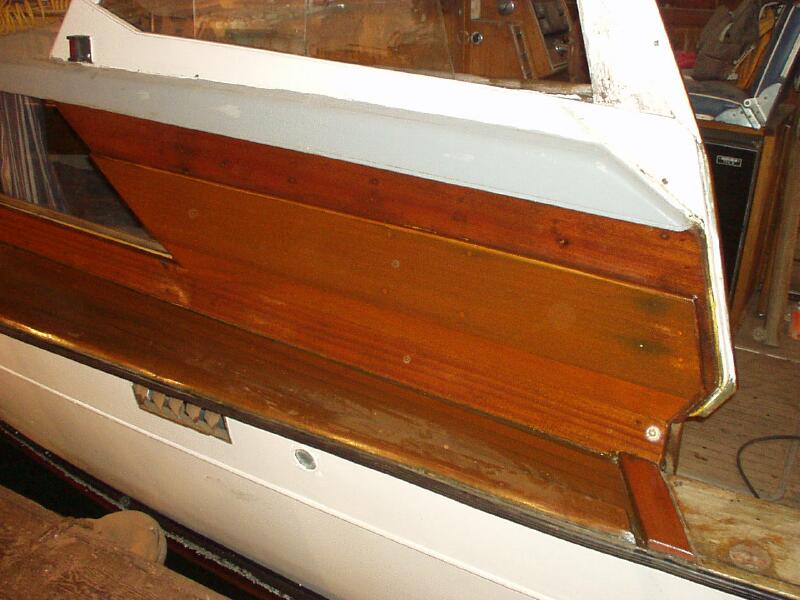
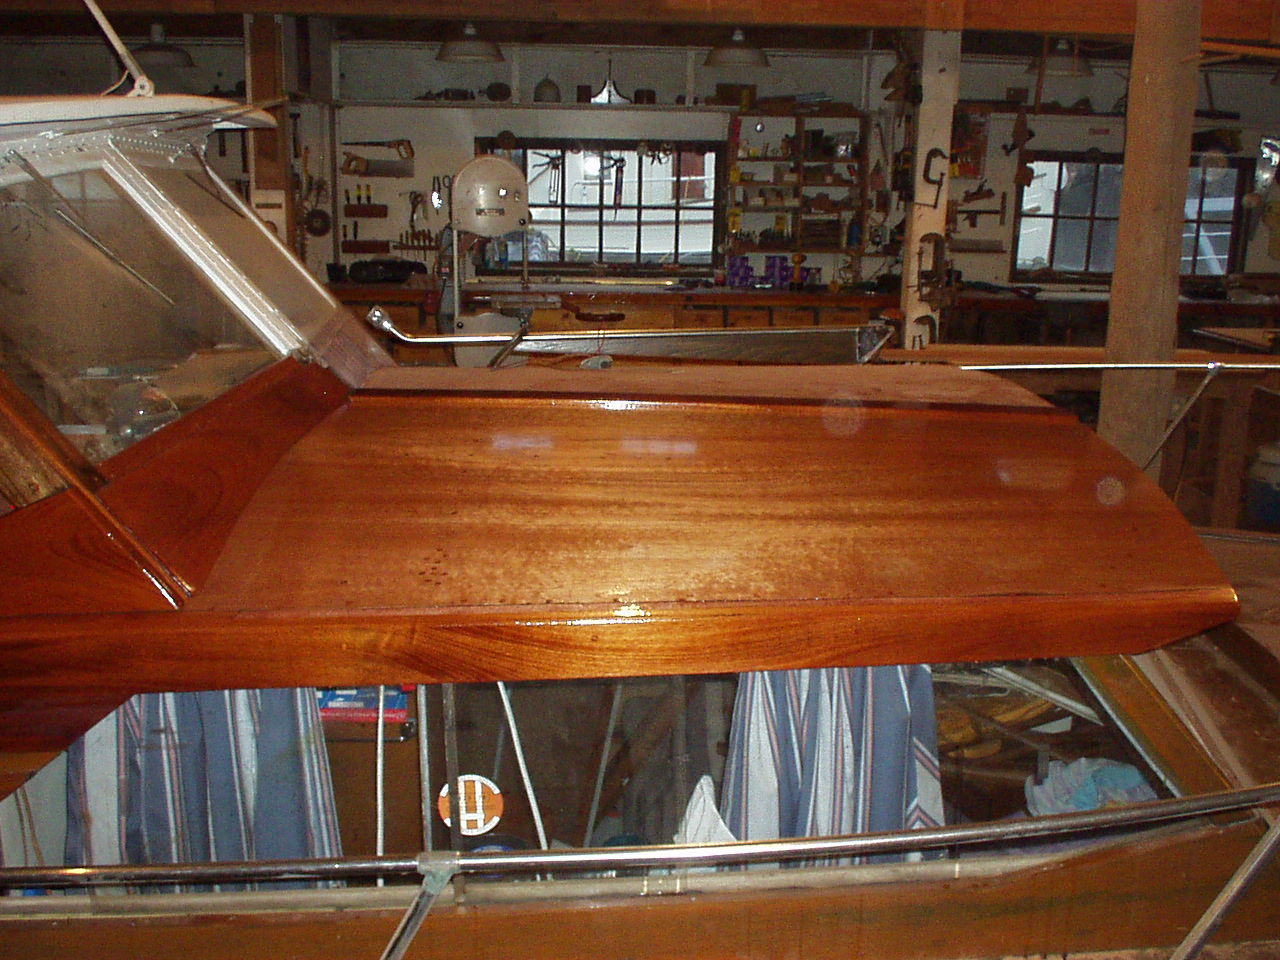
Here is the new mahogany plank, installed, holes plugged, sanded and first coat of Sikkens marine Cetol on it. It doesn't appear to be possible to buy wood that looks like that dark red mahogany they used in it 40 years ago, but the sideboard will cover most of this piece anyway. In fact, it's hard to buy good lumber at all.
This piece was so crooked that I spent 7 hours with a disk sander, flat surface, pencil and long board hand sander just getting one edge straight enough that I could put it against the fence on the table saw to make the other edge straight.
Notice how the grain seems to arch up in the center?
That was the contour of the entire board.
These two pictures were taken on July 4th, 2007. This project is about half finished.
Phase Two
May 25, 2008, I am about a month into the second part of my task to refinish this boat.
This wall was in poor shape last year, but was not on last years project list. This year it gets replaced.
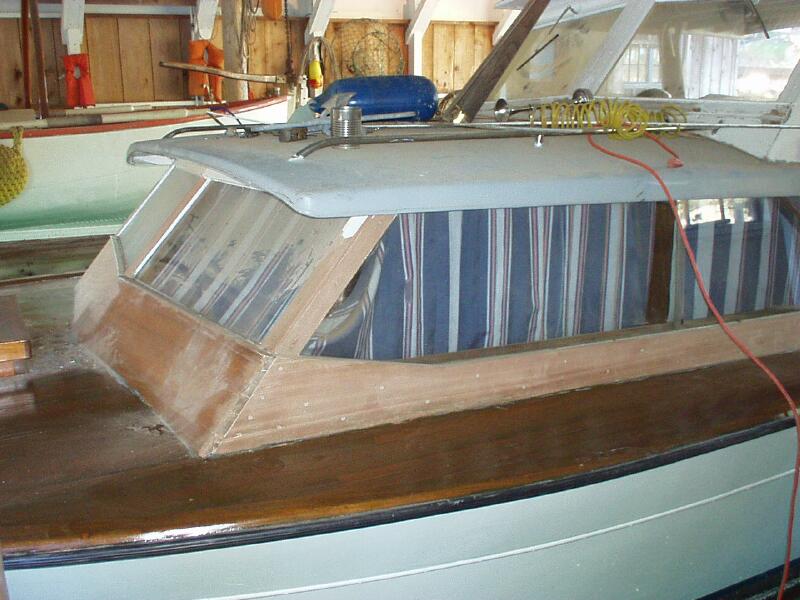
More of the wood around the upper cabin, wheel house and windshield will be replaced as well.
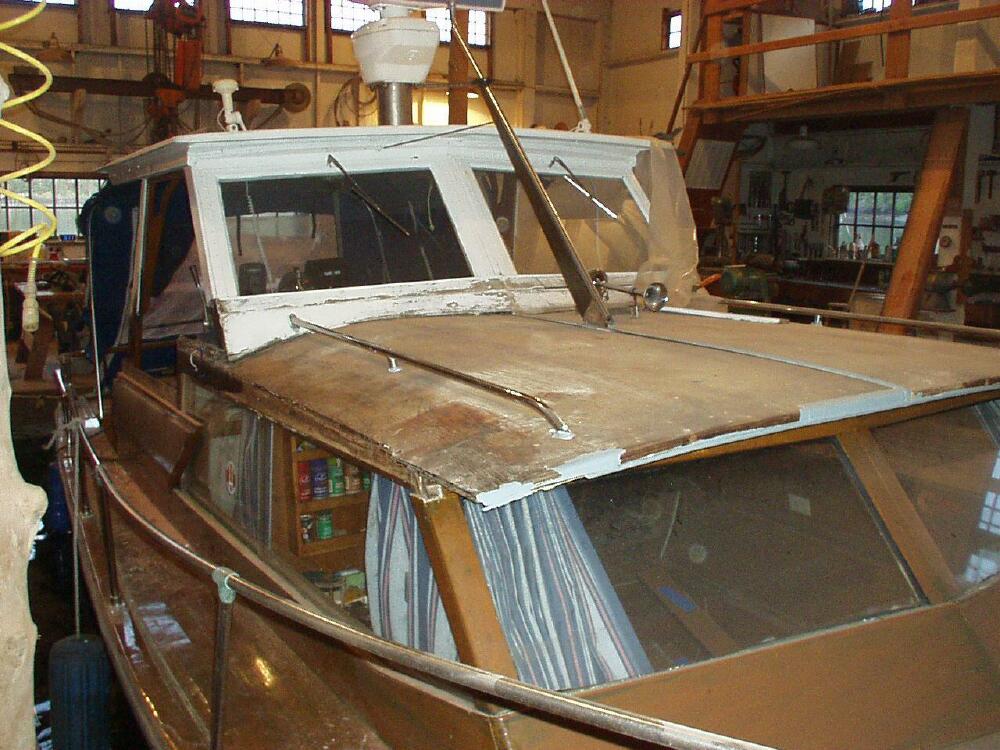
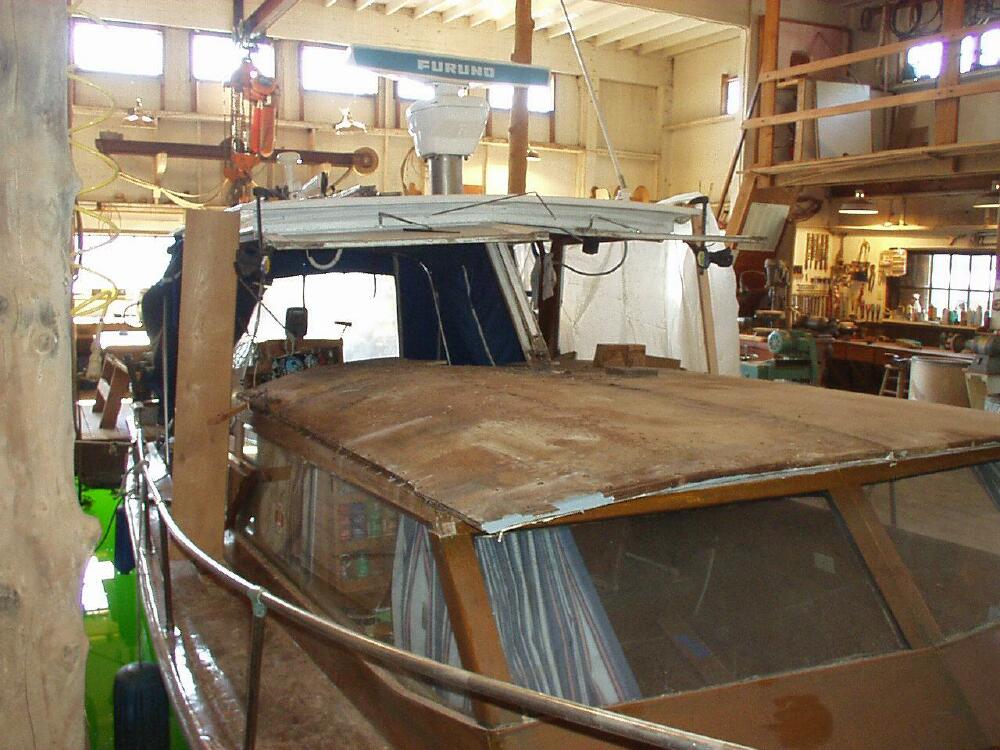
I've decided to bite the bullet and replace the cabin roof this year.
There is rot in the wall forward of the helm station and in the cabin roof, at the corners of the windshield.
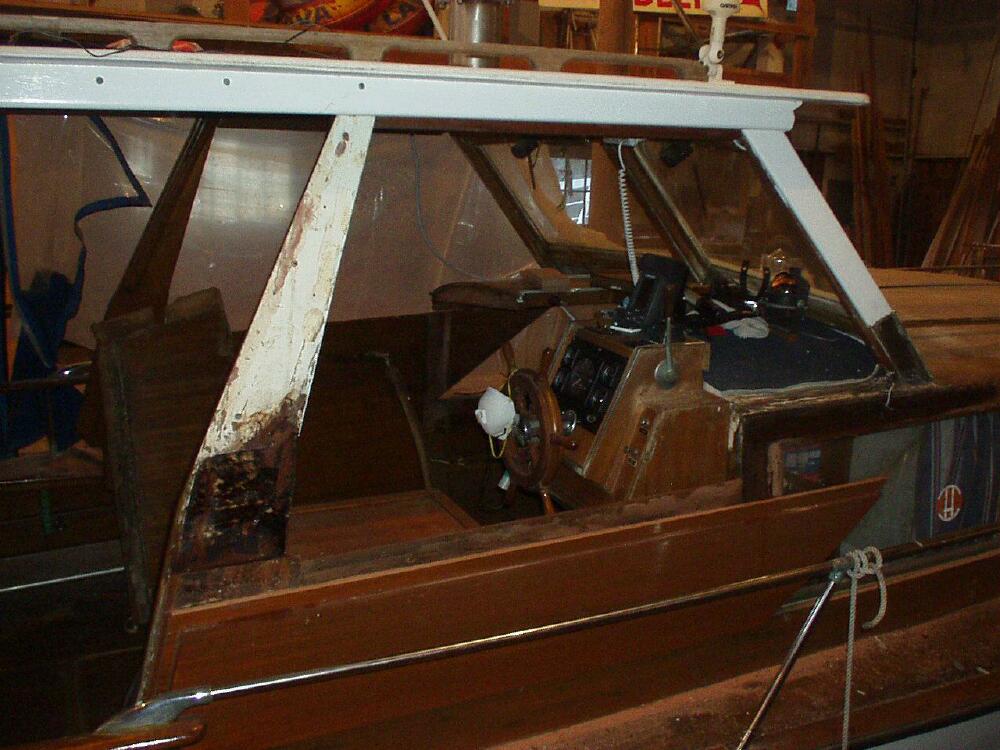
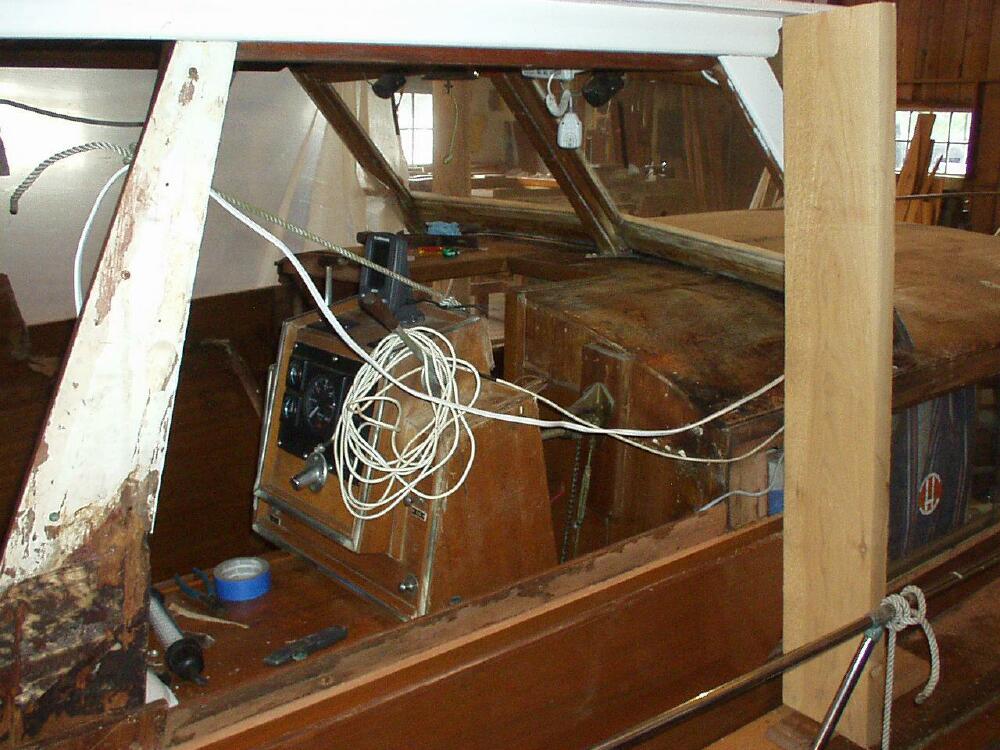
The old windshield frames, in the wheel house, were in poor condition also.
They were also in the way to remove my cabin roof.
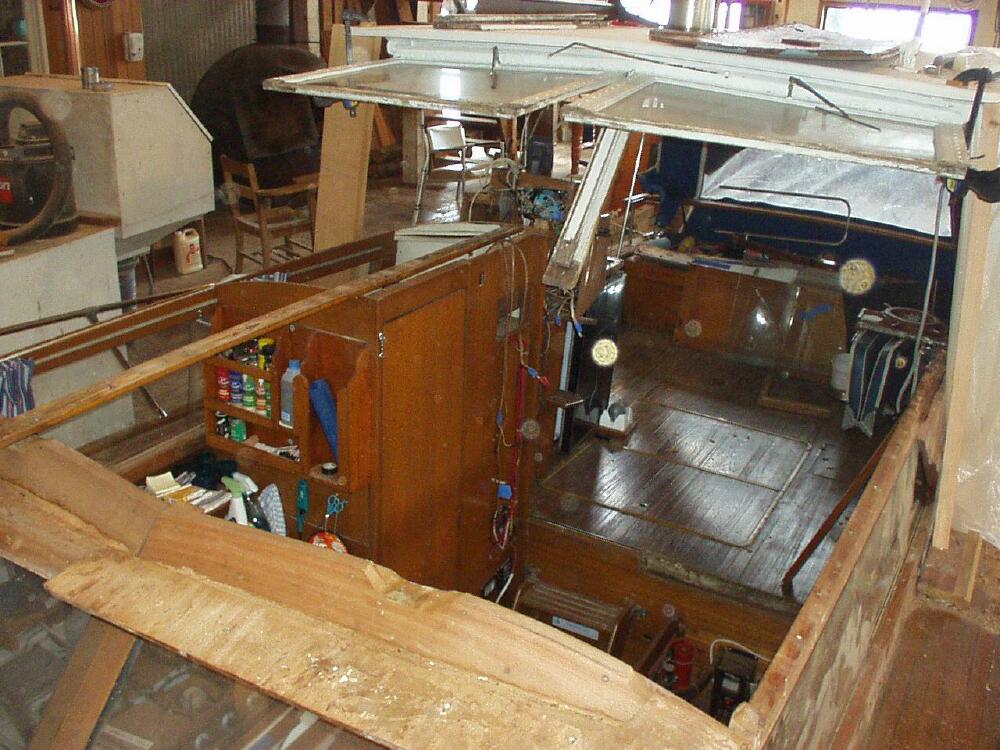
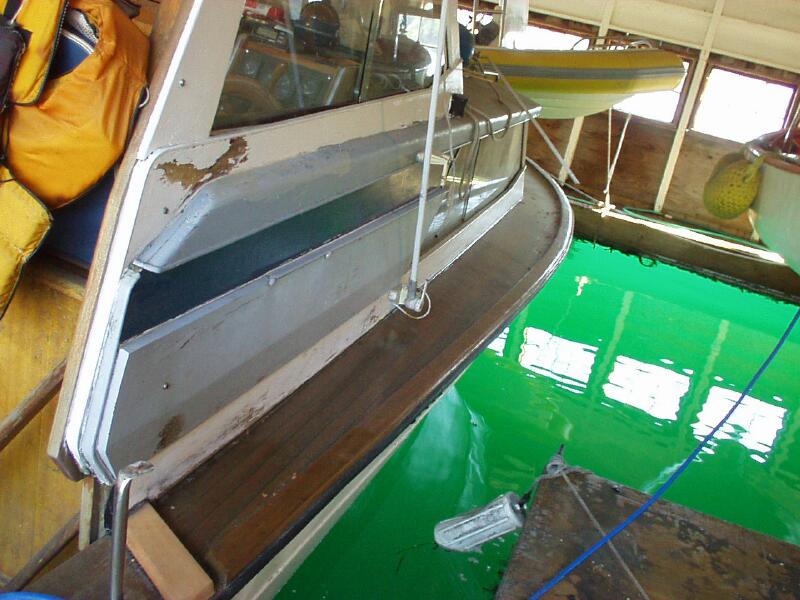
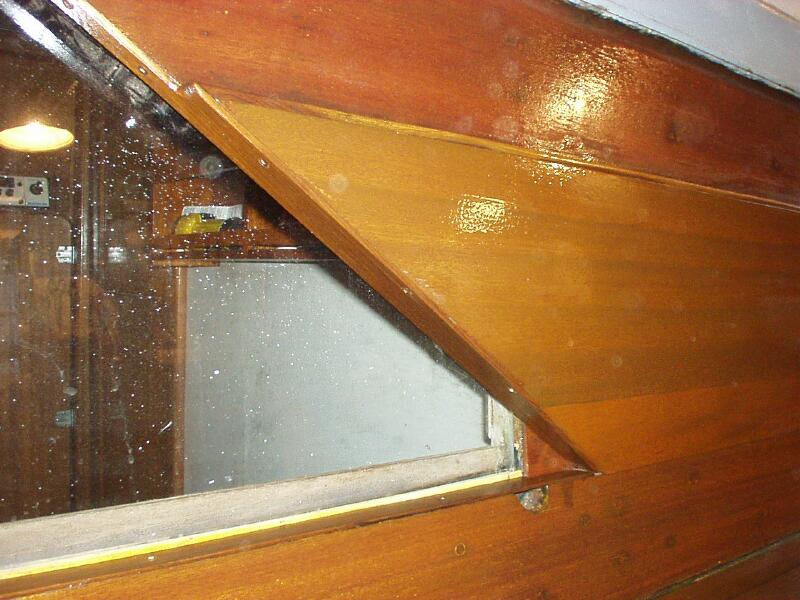
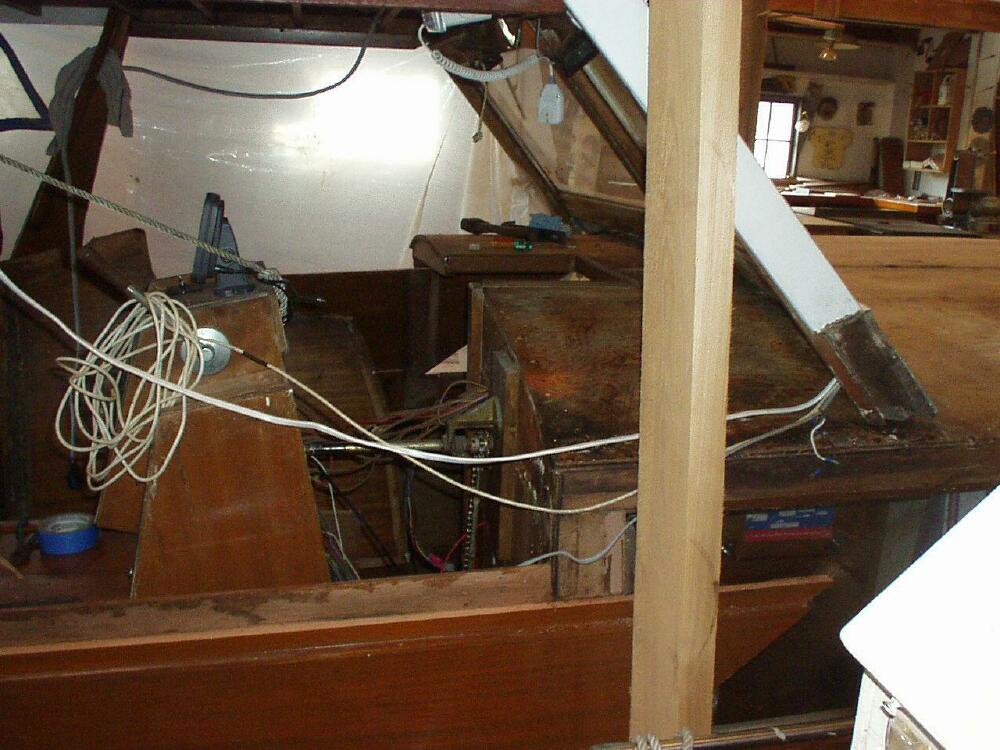
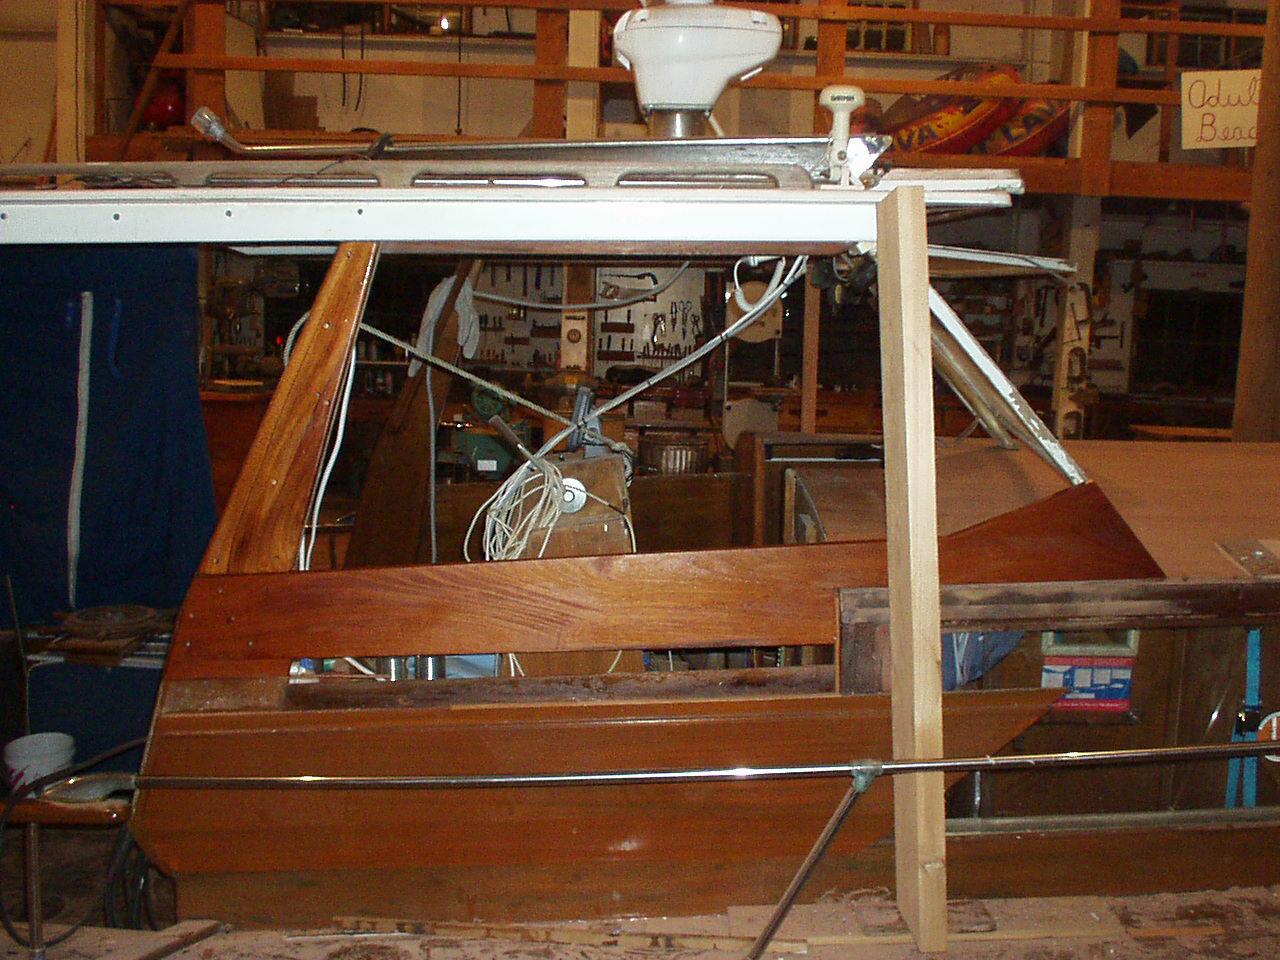
I'm already this deep into it, so there was no excuse to leave a partially rotted upper window sill,
over these sliding side windows in the fore cabin.

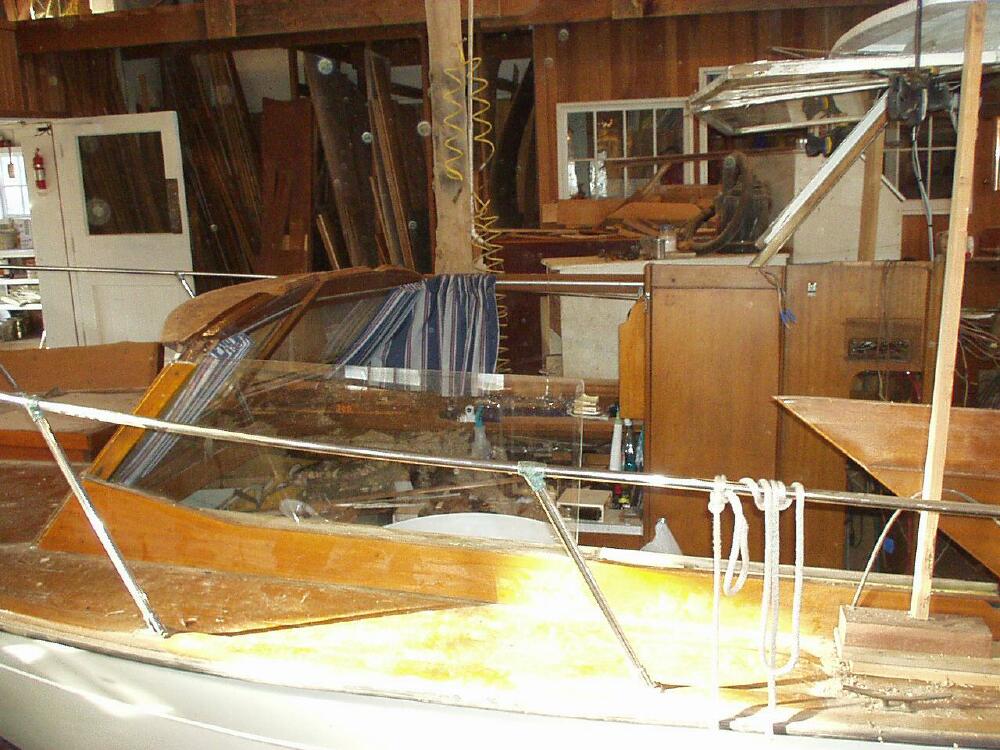
This is the new upper sill that I built and installed,
with a new support post barely visible at the right side of the picture.
Here is the new wall installed.
Now I am laminating up some cross trusses to better support the new roof. This is a very slow process,
as each application of epoxy must cure enough to work with and sand on, before I can continue.
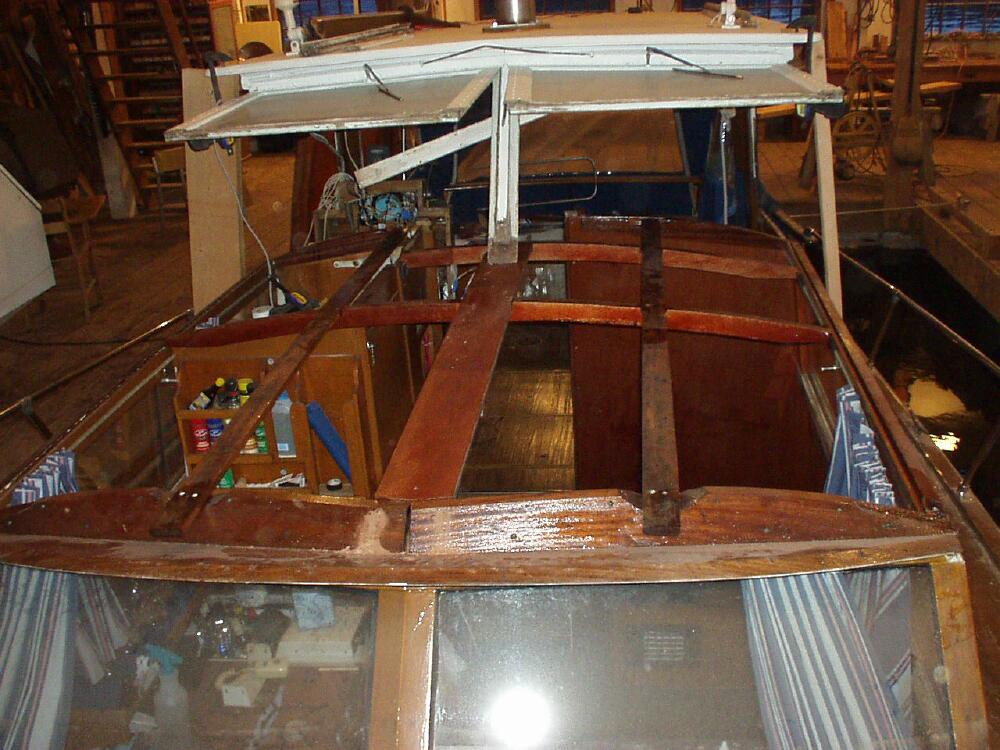
Here are the new cross trusses and a new center stringer for the roof. These were built from left over pieces of
half inch mahogany marine plywood. The head wall supported the starboard stringer nicely, with a slight bow,
but the port stringer was a bit swayback and needed something to arch it's back a bit. The original roof was in three
pieces, and joined on the two original stringers. I plan to do the new roof in two pieces and join in the center.
Well, somehow, summer has come and nearly gone, and the project still draggggs on! August 17th, 2008.
Fortunately the project has progressed, even though the web page updates are far behind. Here is the new cabin roof. I used half inch marine plywood, Mahogany both sides, grade B/B. I thought the original roof was half inch ply, but later discovered it was actually 2 layers of quarter inch ply, which bends much easier. In hind sight, the half was my only choice, because I can't sink the screws and plug holes in quarter inch material. However, in hind sight, I should have replaced the starboard upper window sill also, because the half inch ply demanded more strength to hold it down. I also should have extended the aft cross truss the full width to the starboard cabin side, rather than terminating it at the head wall. That would also allow me to attach the cabin roof to that truss every few inches, for the round contour I needed. All in all, it turned out fine, but these two things would have made my task much easier, and saved me countless hours and re-engineering later on.
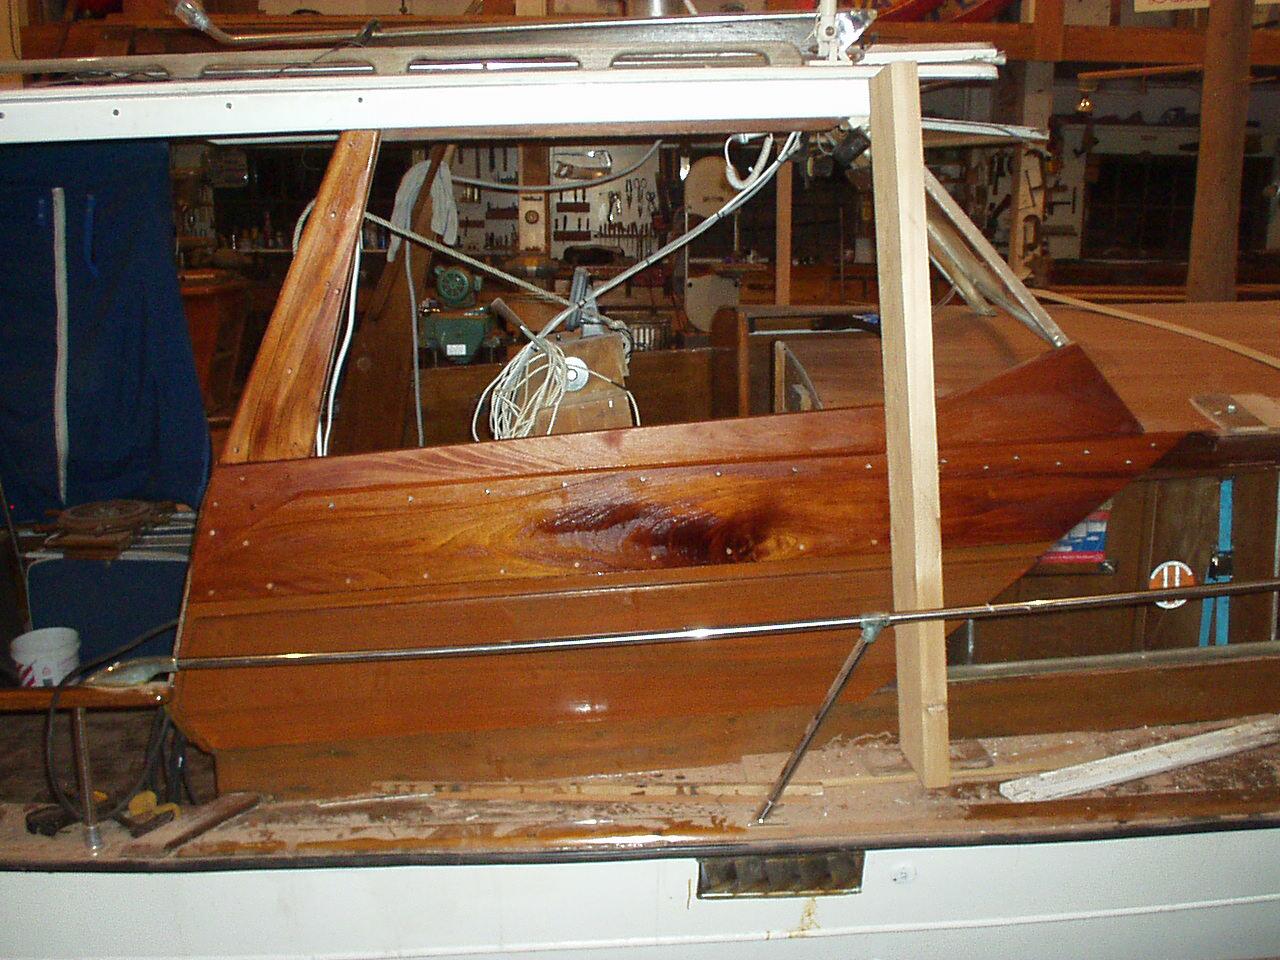
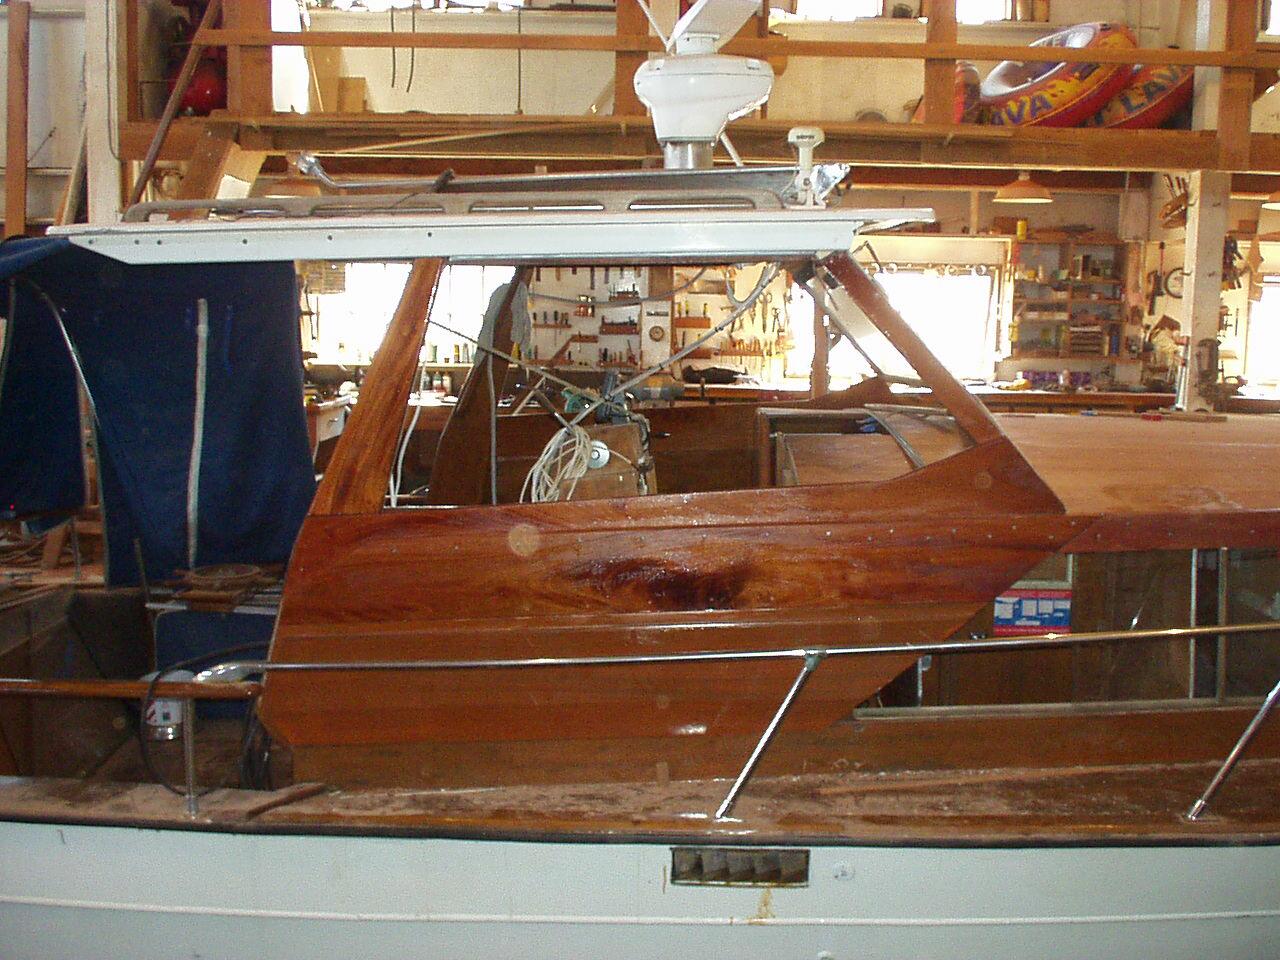
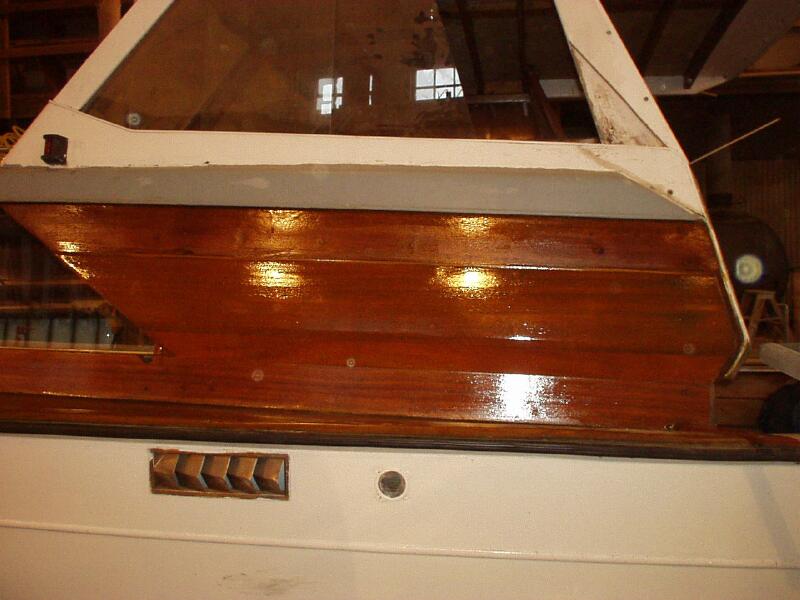
The above pictures show the assembly of the starboard side of the wheel house, and the new piece under the starboard windshield. This was all new wood, and I got lucky this time, I wound up with some nice Honduras Mahogany, with some nice personality to it.
The 4 pics above show the Starboard side with three coats of clear gloss polyurethane. I discovered that I can't apply sikkens over the clear coat epoxy I used to seal my new wood. The clear coat epoxy has no UV protection, so I went with the clear polyurethane for my finish coats. I will put several more coats on before I am done.
Sept 5th, 2008 update
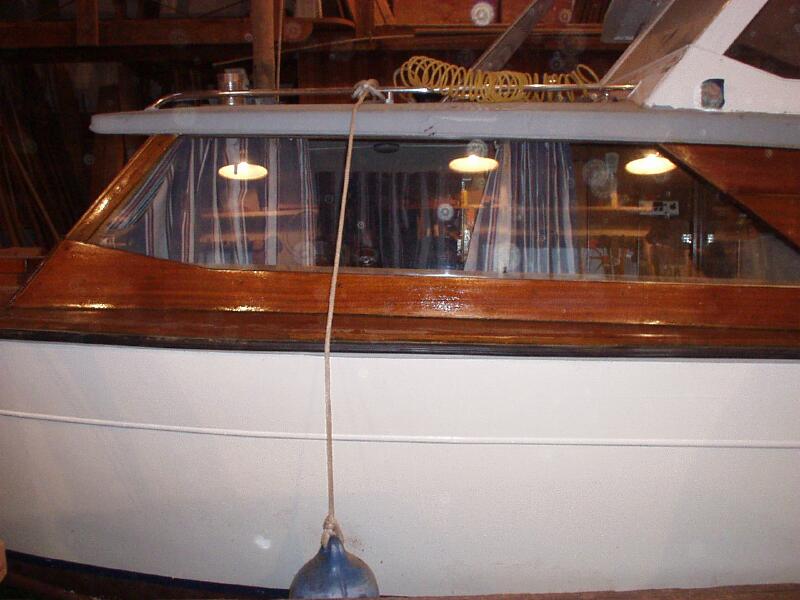
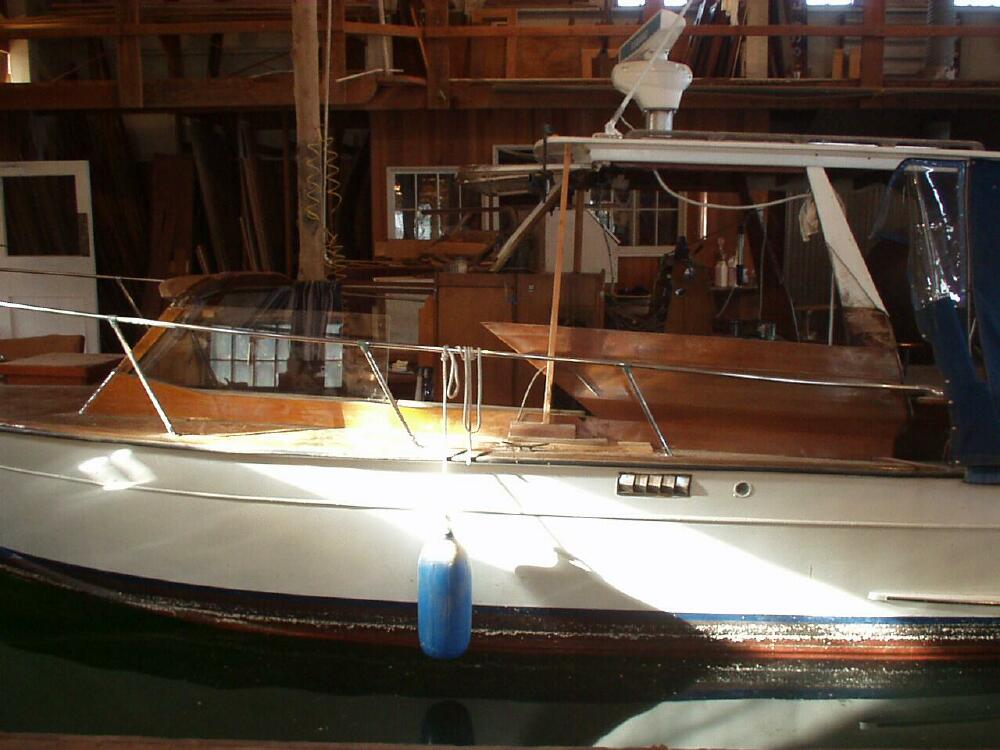
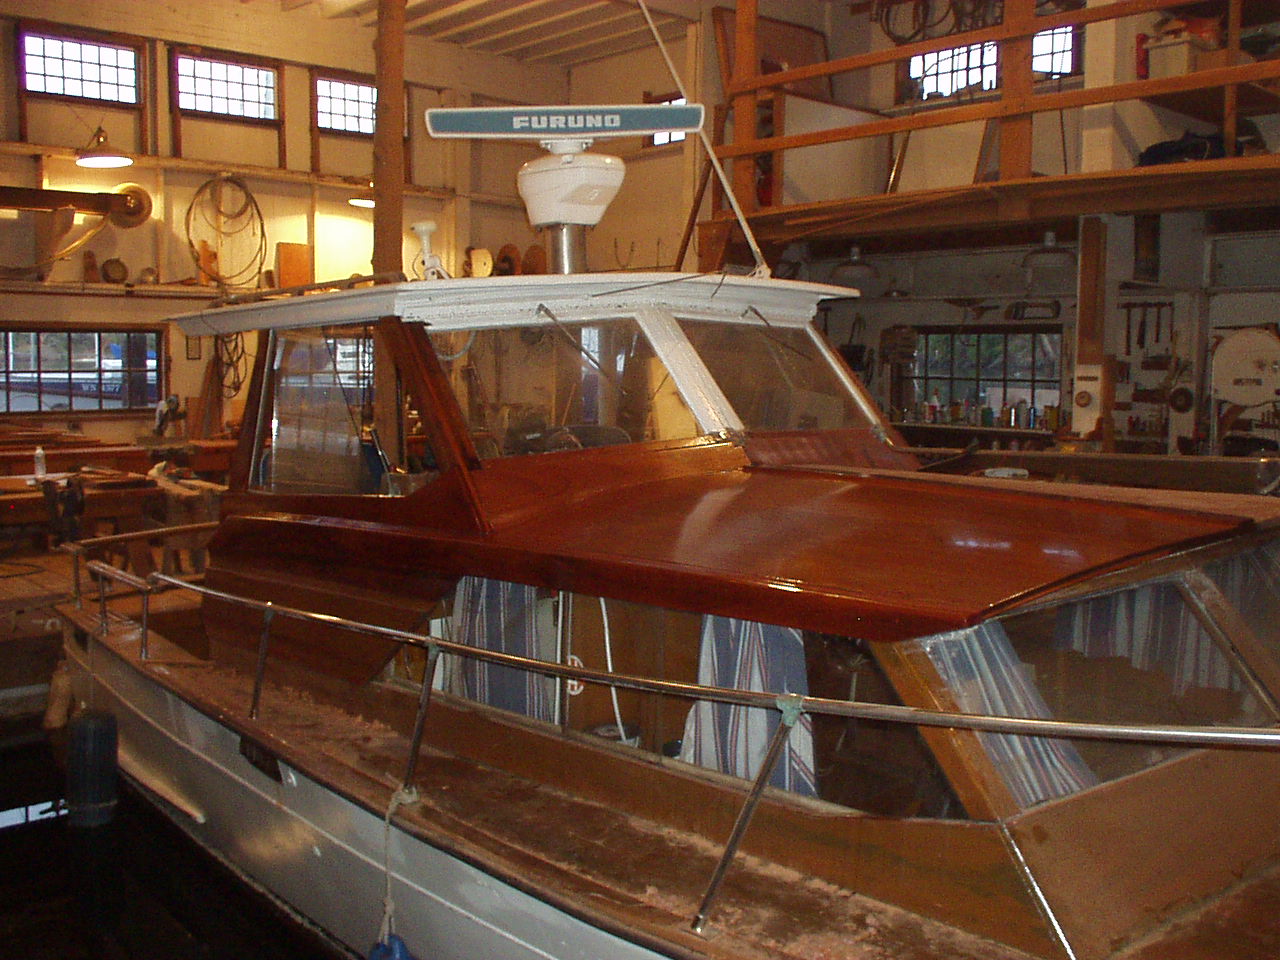
Here is the completion of this years project, with 7 coats of clear gloss polyurethane. I opted to build new hand rails for the fore cabin from left over mahogany. I had some nice Honduran left over, and I just couldn't visualize the old stainless steel railing on all this new wood. I still have lights and nav equip to install and connect up, some joints to seal up, but this is as good as she gets this year.